Mid-Century Steel Tanker Desk Restoration
Last Updated on February 26, 2021 by Tim Harman
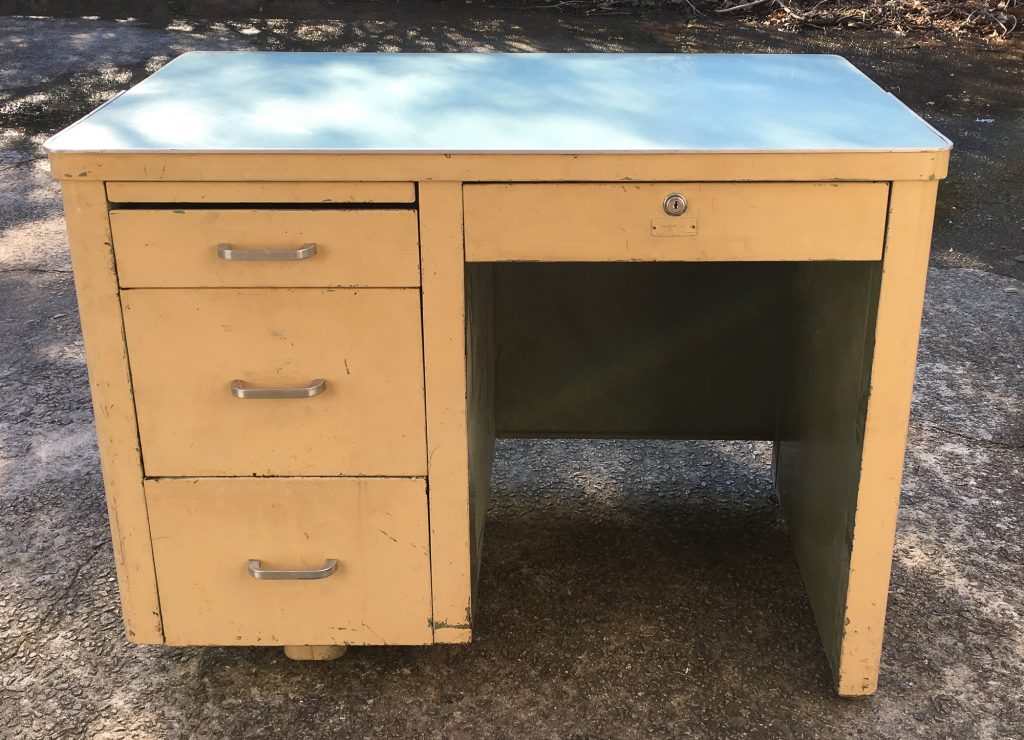
We’re in process of switching around our kids’ rooms, and our oldest has moved into his own room. One of the projects to tackle was getting him a desk to go under his new lofted bed. When I was kid I had an old mid-century steel tanker desk painted a lovely 80’s beige. It wasn’t much to look at, but it could and did take all the abuse a boy could throw at it. They don’t call them tanker desks for nothing. For YEARS it sat mostly unused in my parents’ basement. Thankfully, they kept it! Here’s the before:
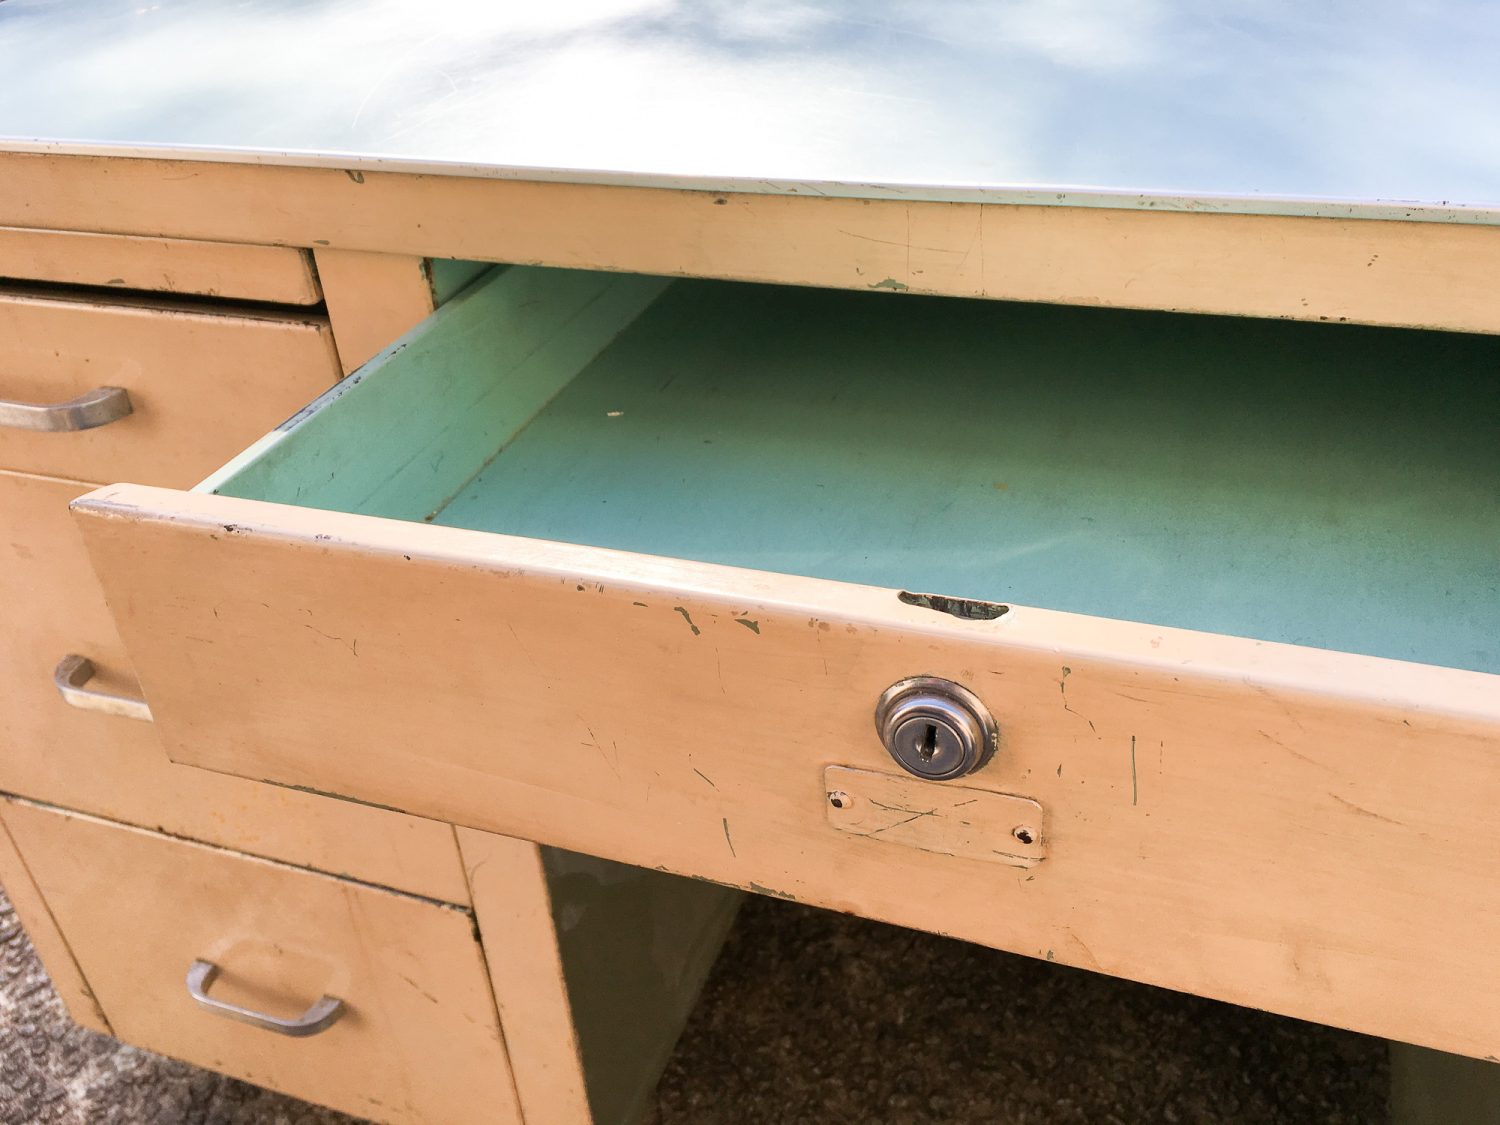
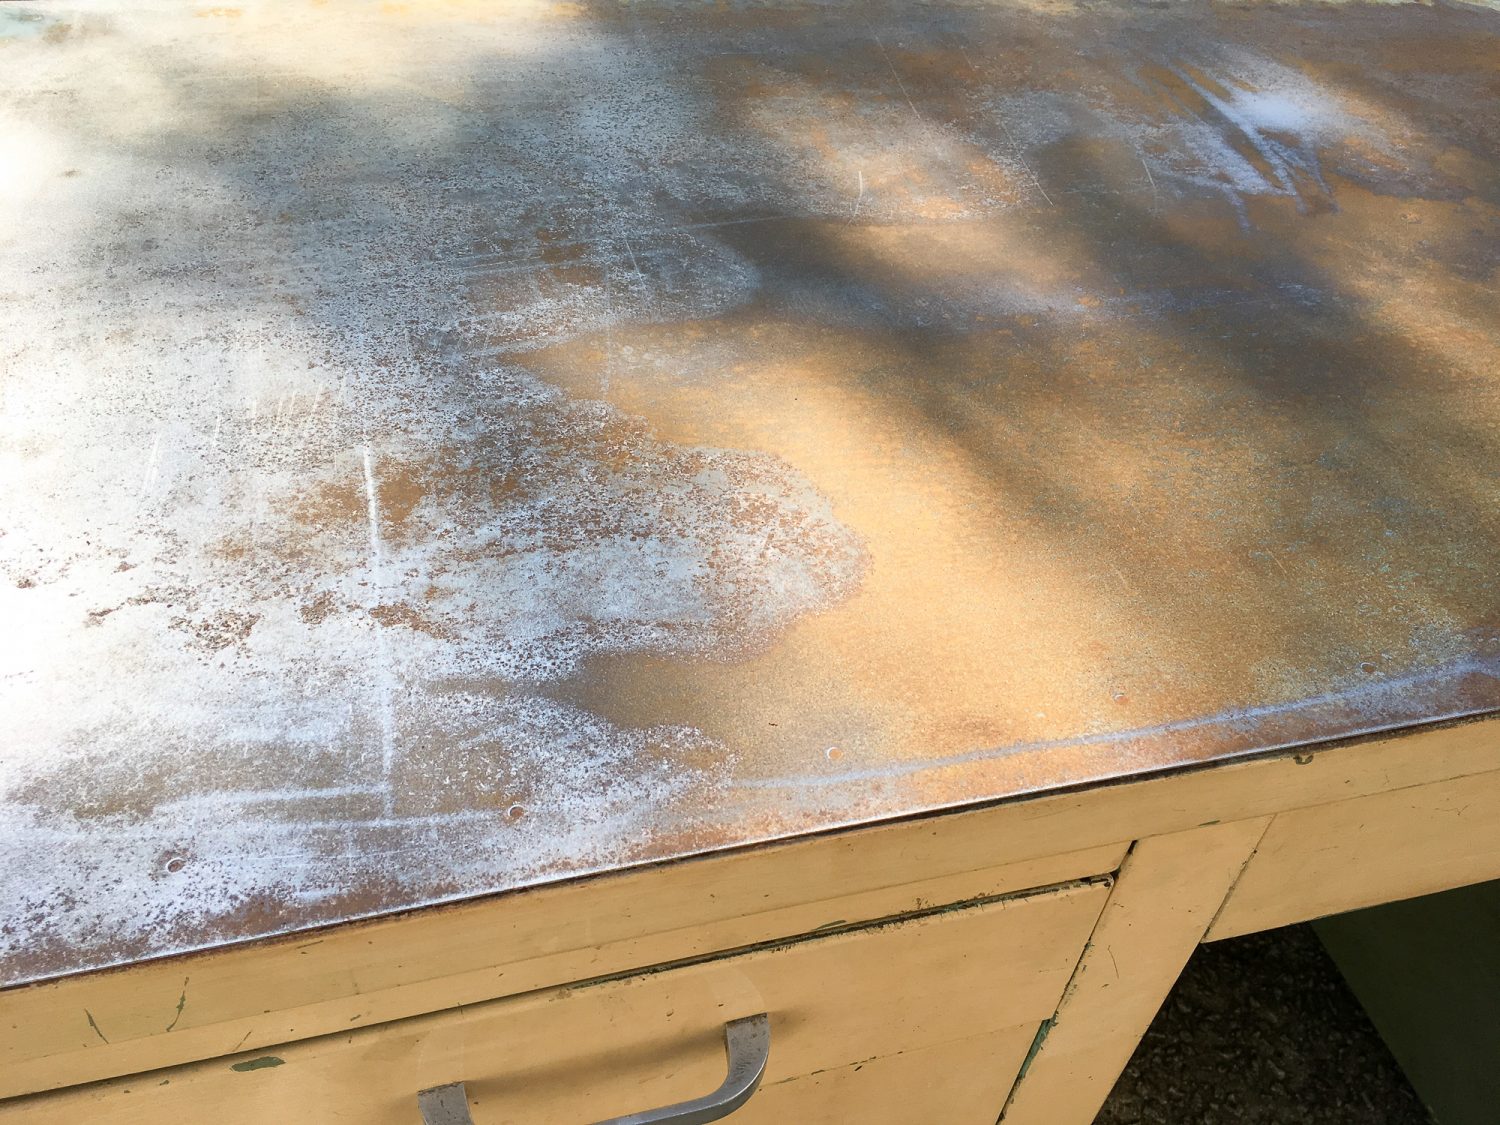
I started by removing the laminated plastic top. There were two metal banding clips that went all the way around the top, holding the Formica top in place. I removed both halves using a flat-head screw driver and hammer, slowly working it out of the groove. I was unsure at that point if I’d be wanting to reuse the banding clips, so I was careful not to damage them. Here you can see the the bare metal top. I believe this was after I had sanded on it some. The decades (and the original adhesive used) left a great patina.
*this post contains ads and/or affiliate links
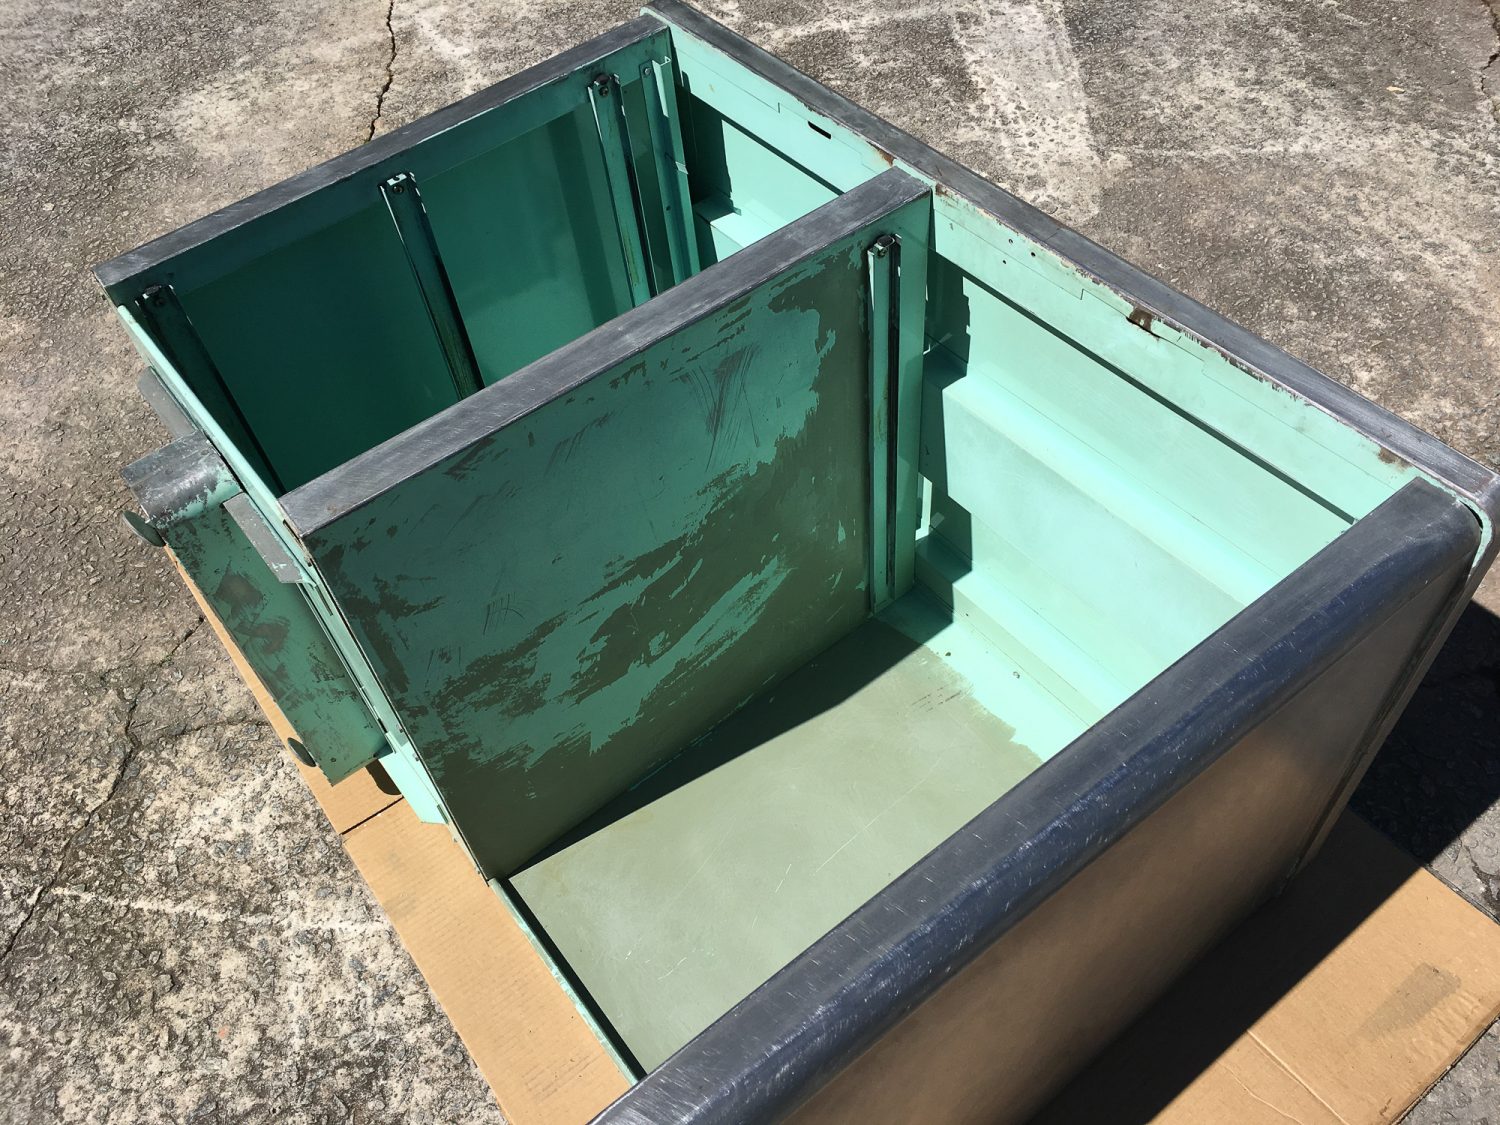
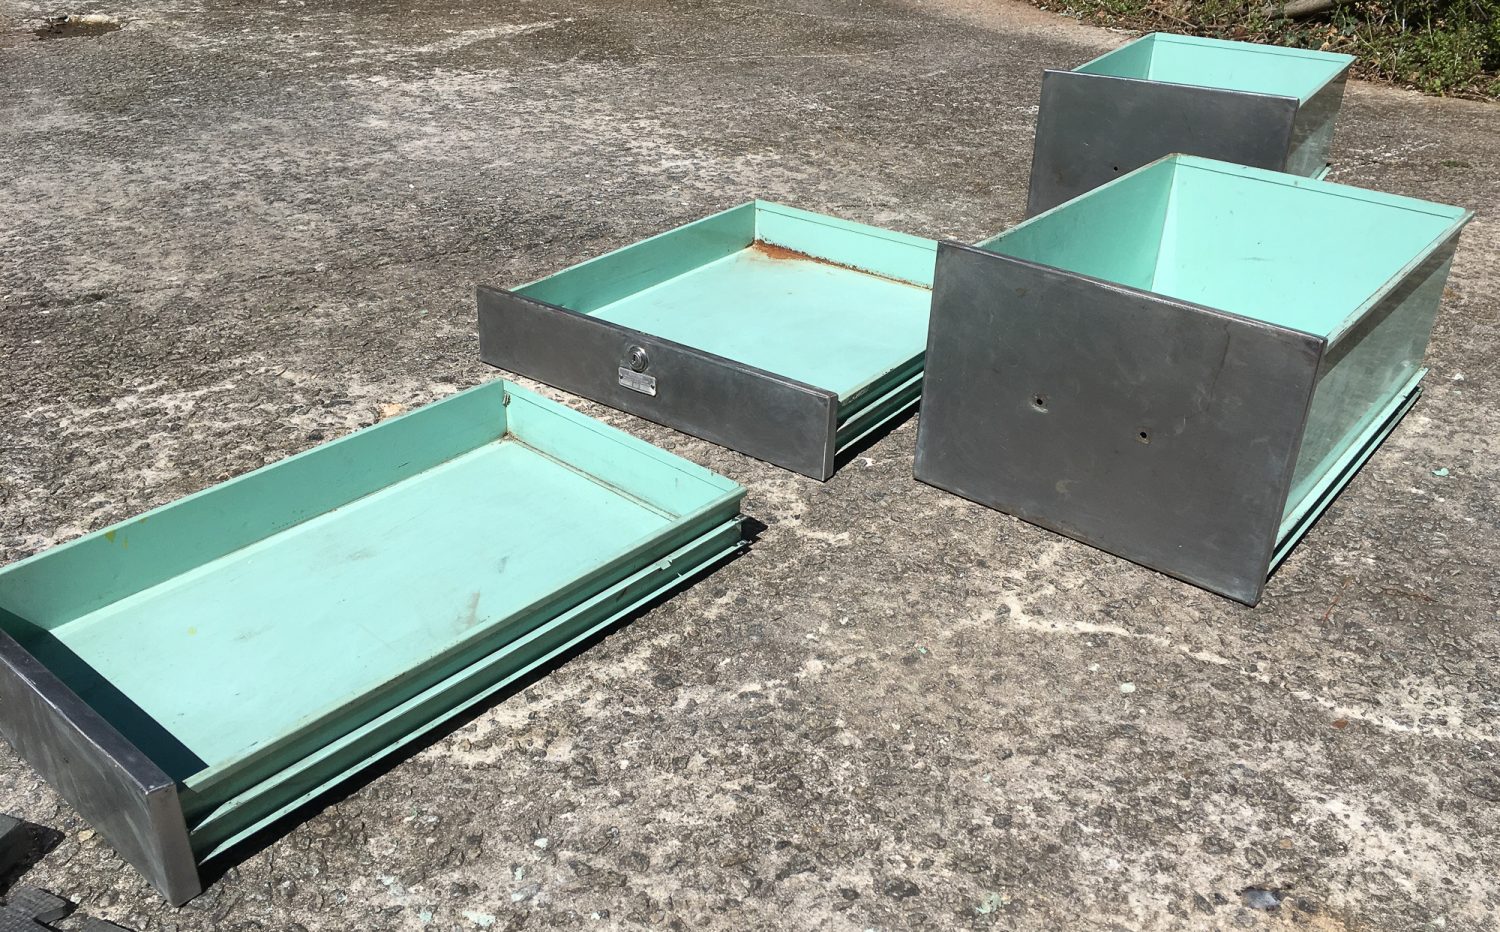
Next, I removed all the drawers and started on the stripping. This beast had three layers of paint! I used Citristrip.
Amazing stuff. I started out applying it with a foam brush not thinking about the fact that it’d eat the foam. So, that didn’t last long, and I ended up just using wadded-up paper towels.
**Make sure to wear some quality nitrile gloves**
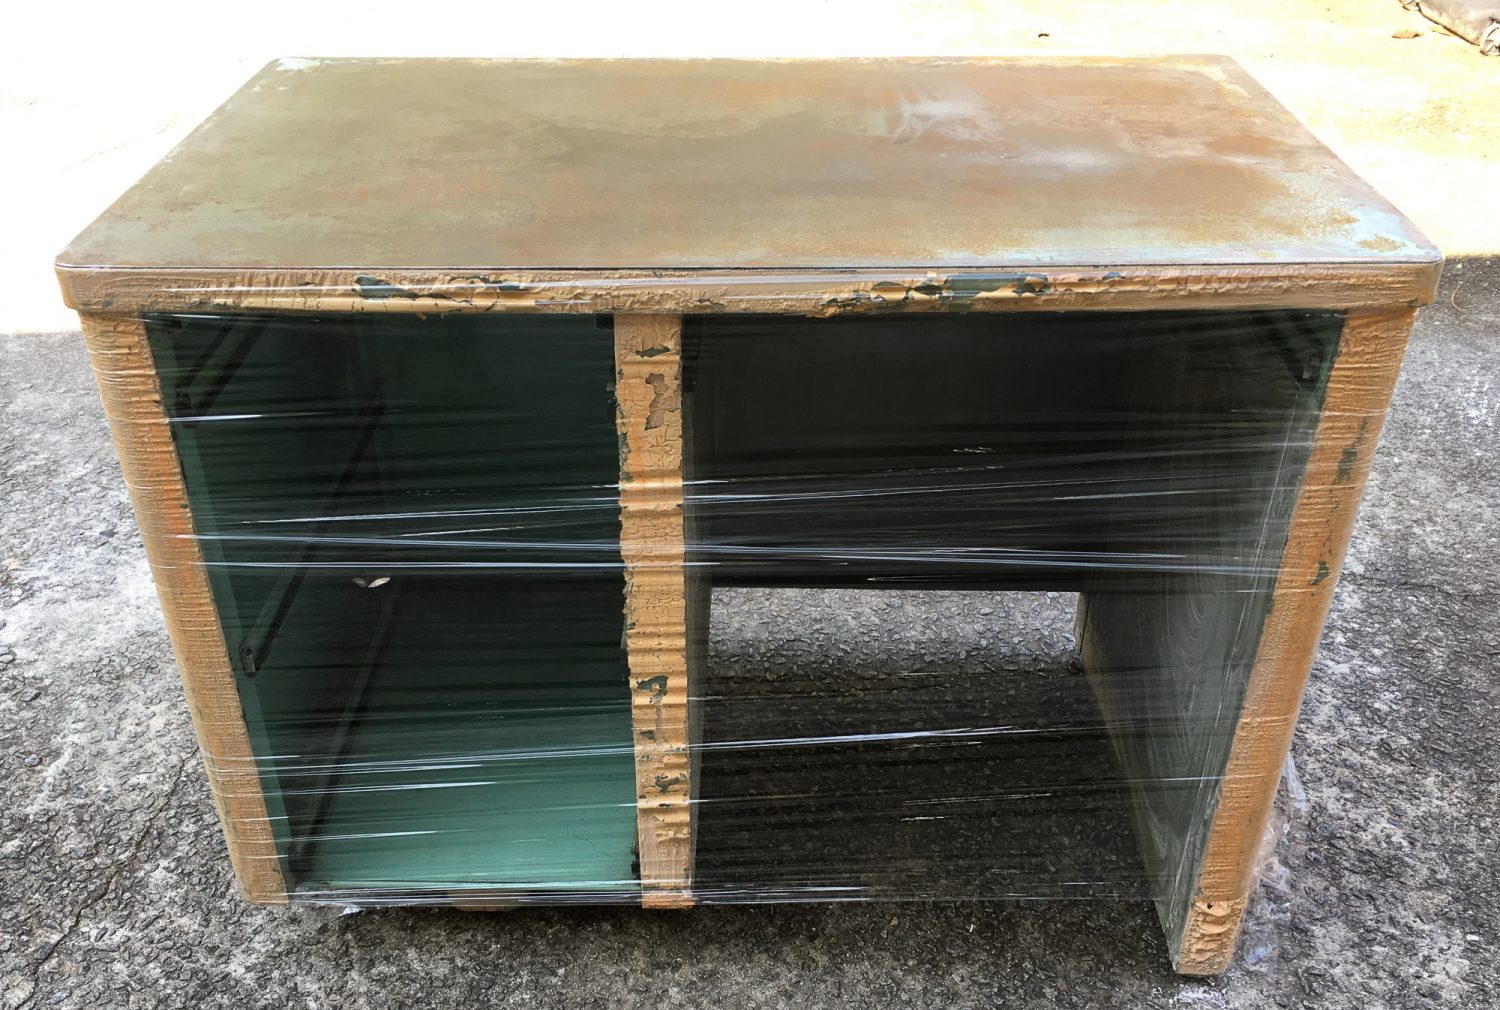
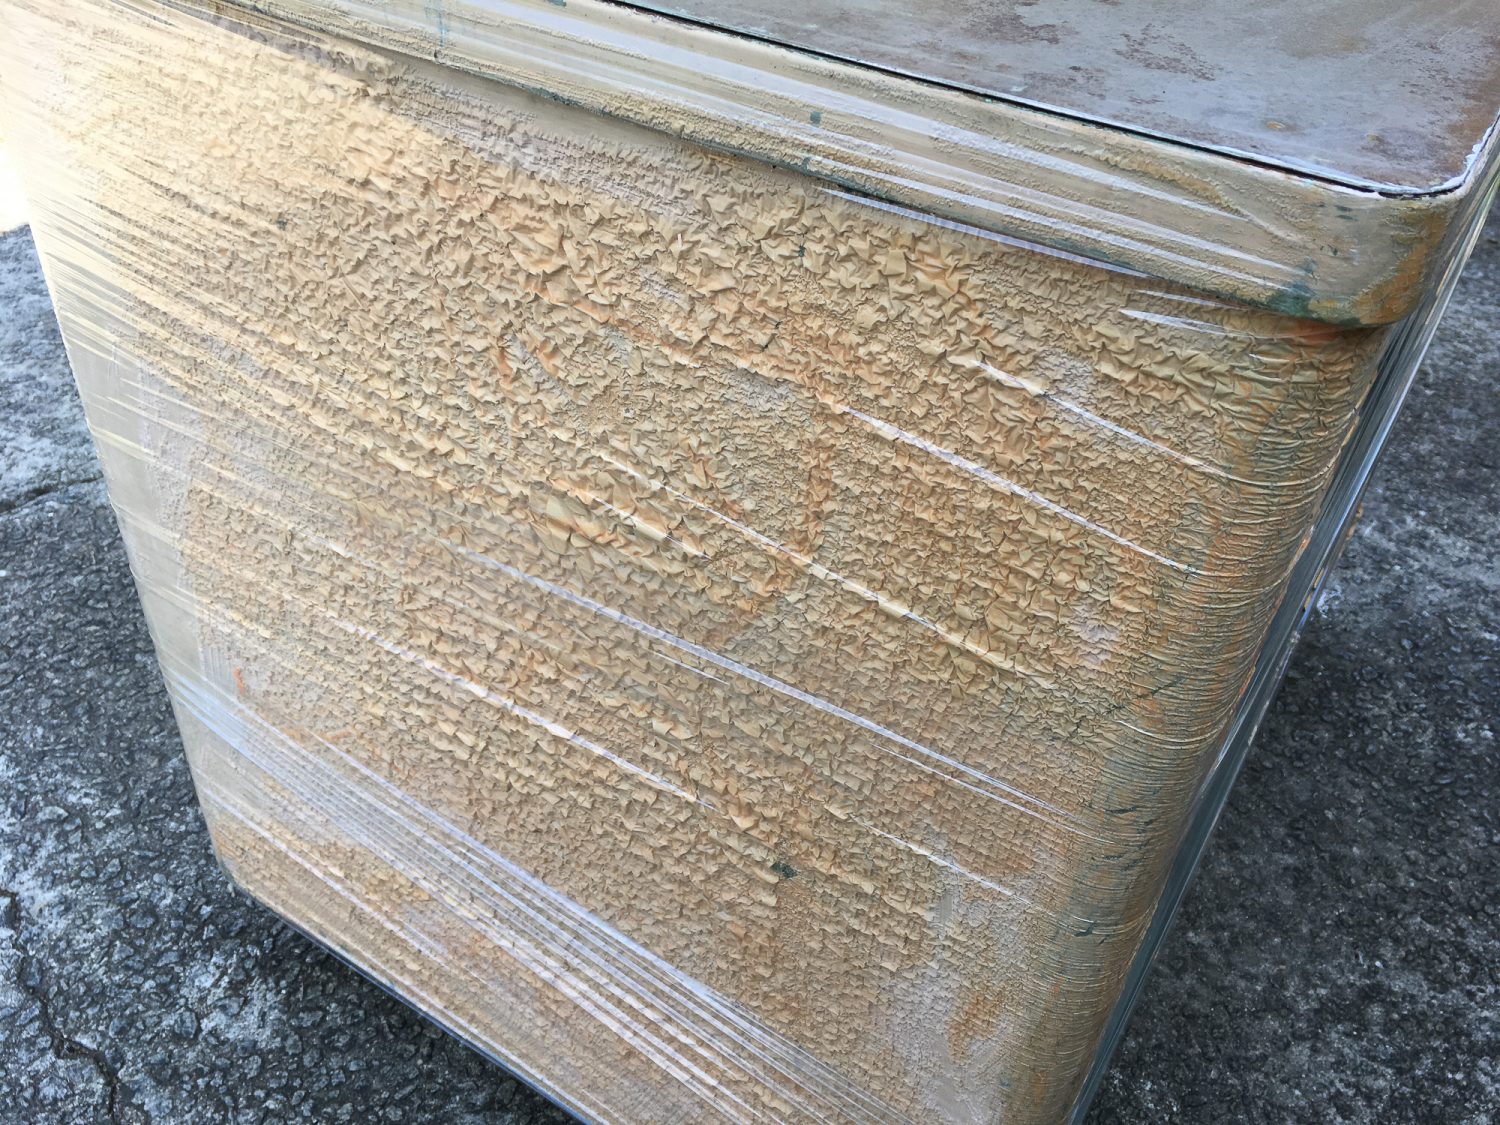
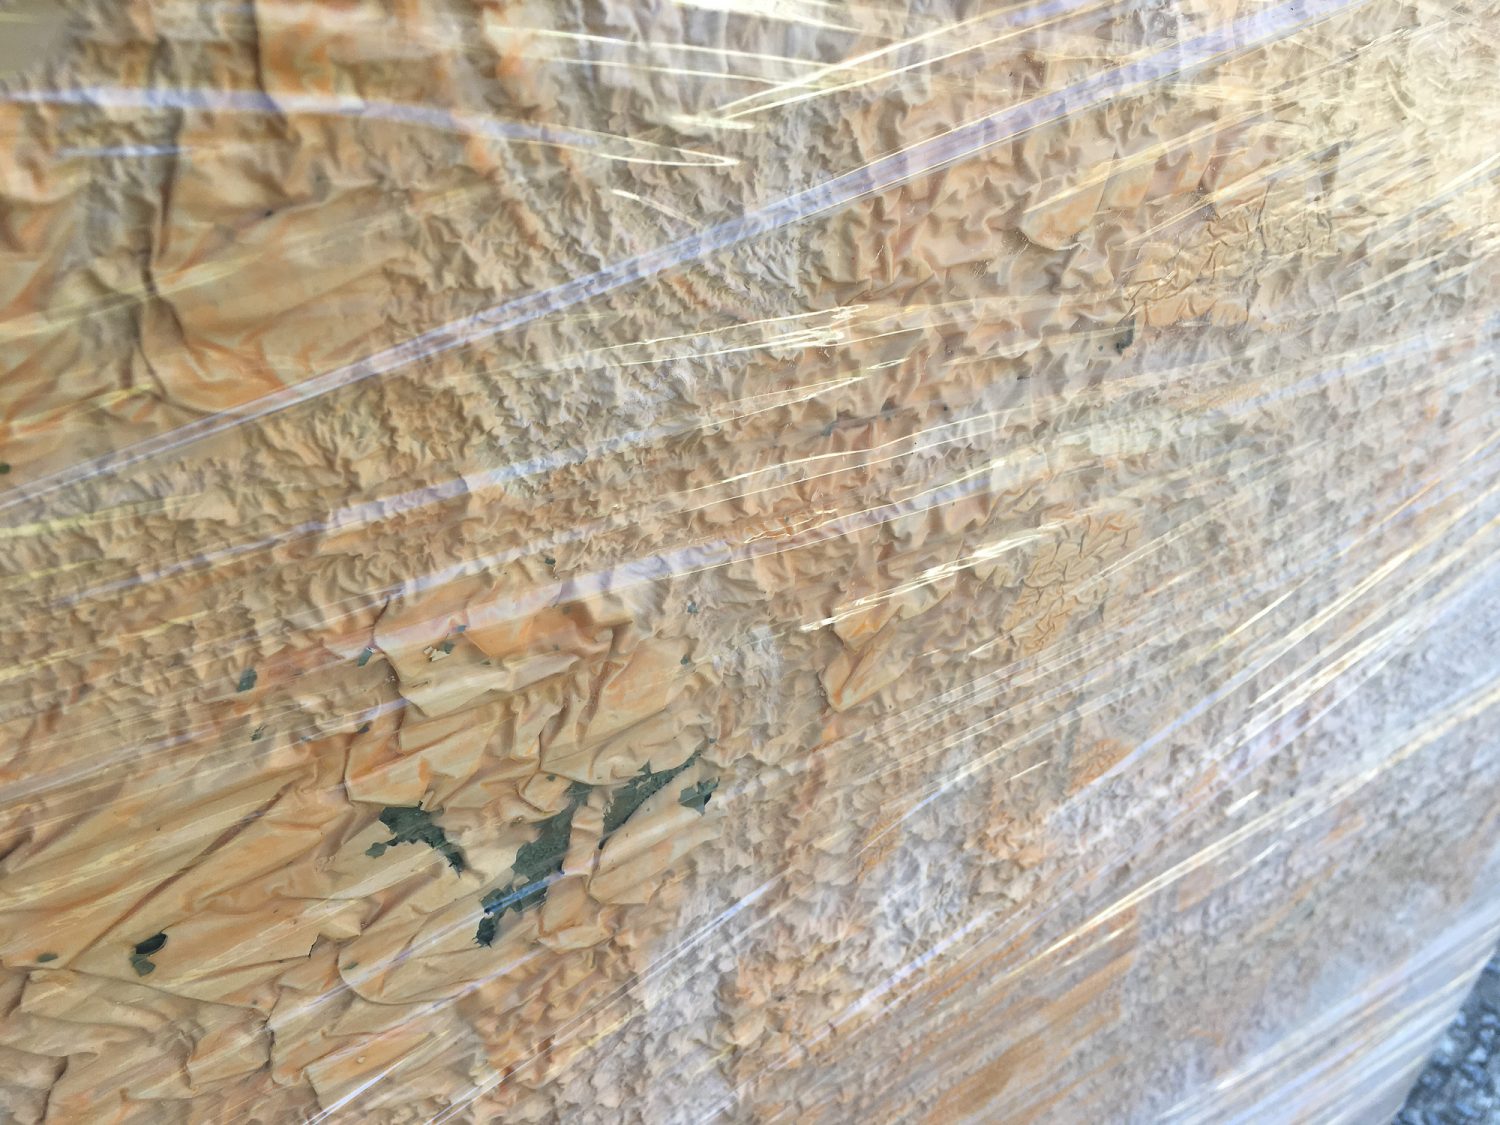
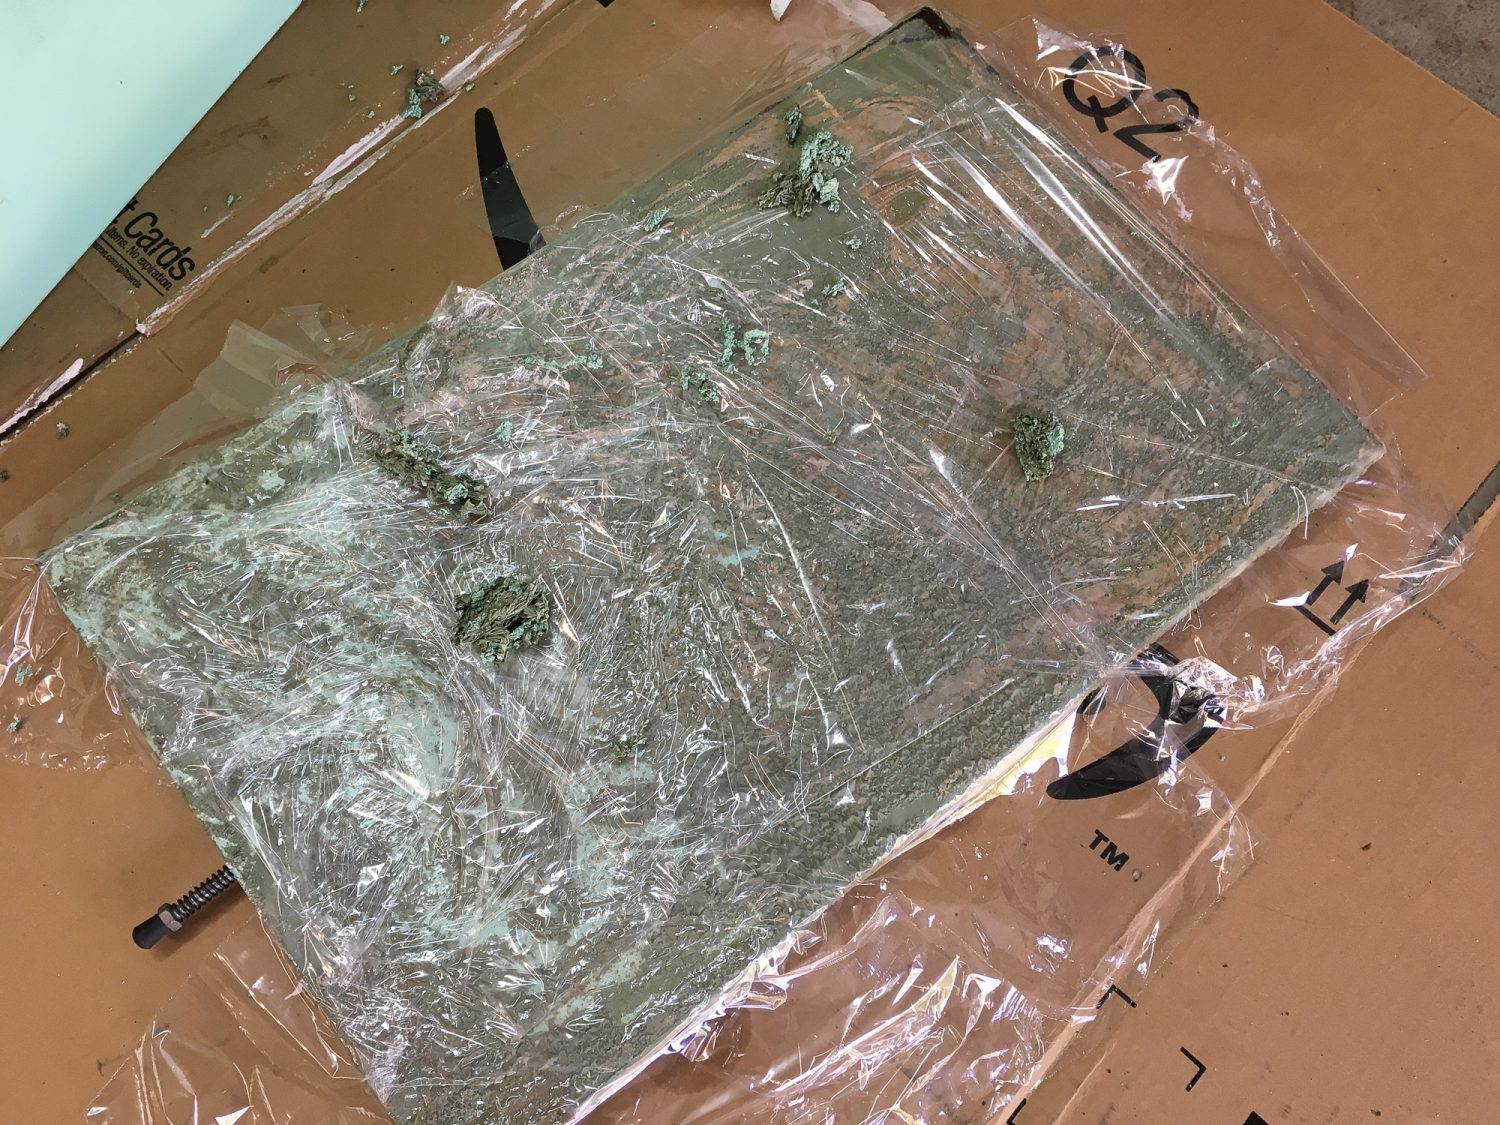
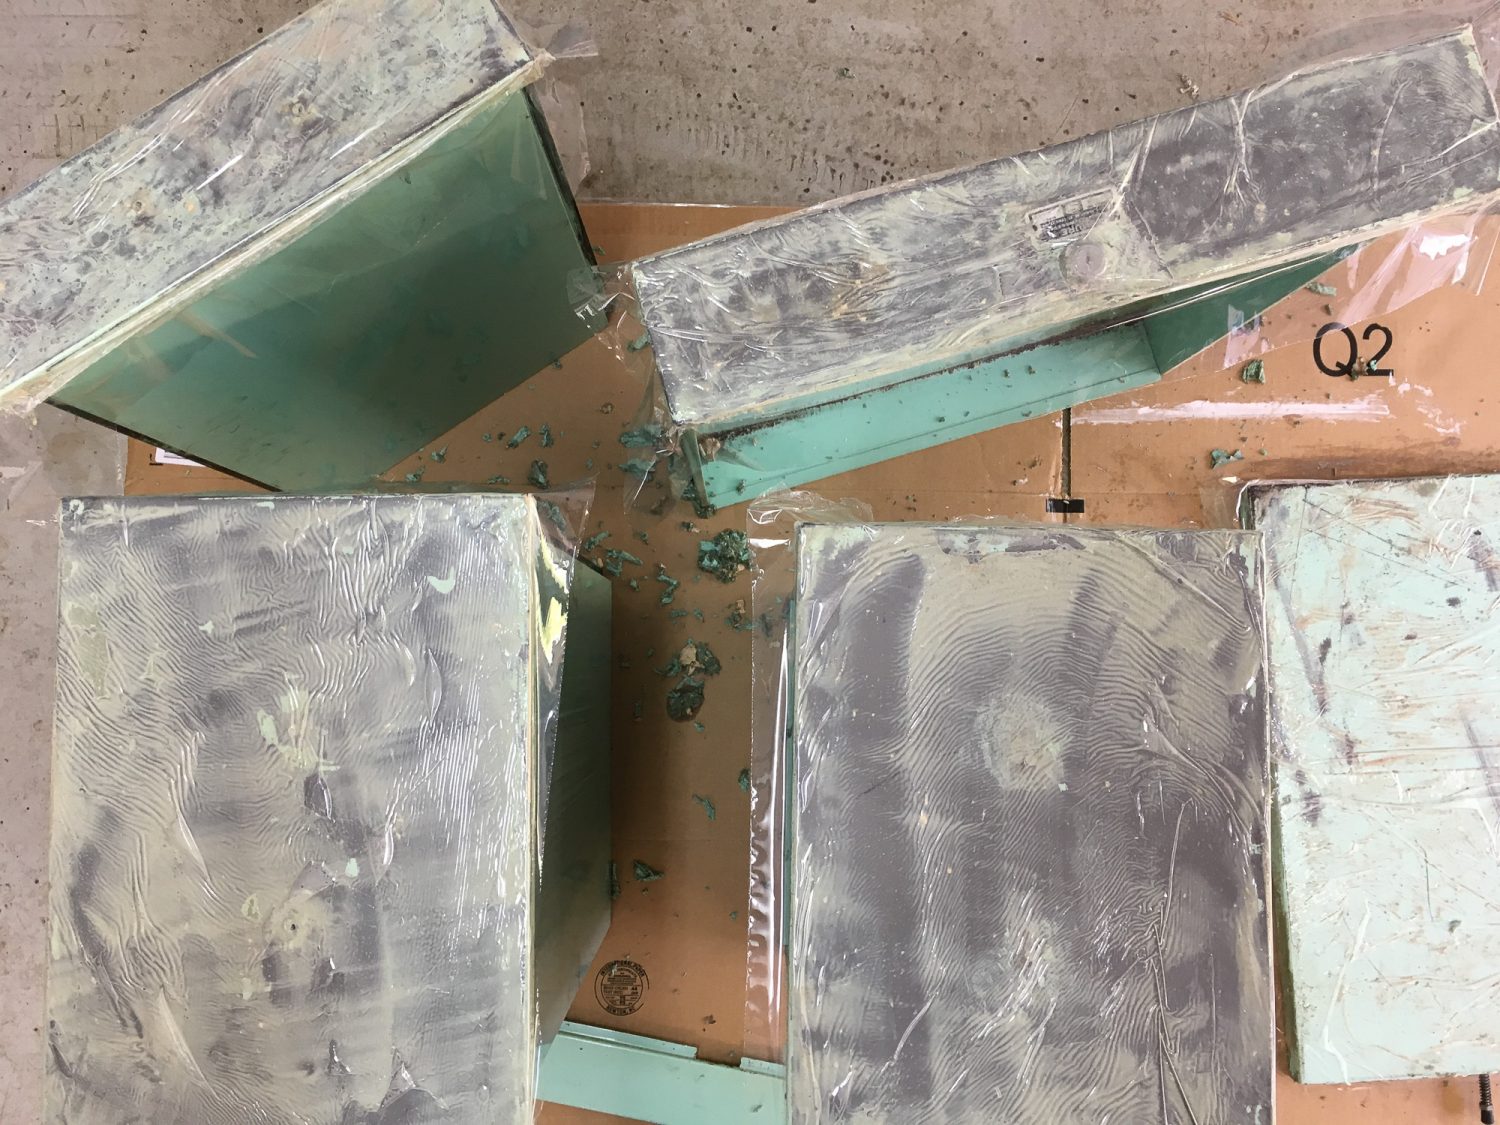
I applied a nice thick layer and then covered the surface with plastic wrap. This helps keep the Citristrip wet, allowing it work its magic for longer. Ideally, let that mess sit overnight, especially if you know you have multiple layers of paint. However, you should start seeing the paint crinkle up in no time.
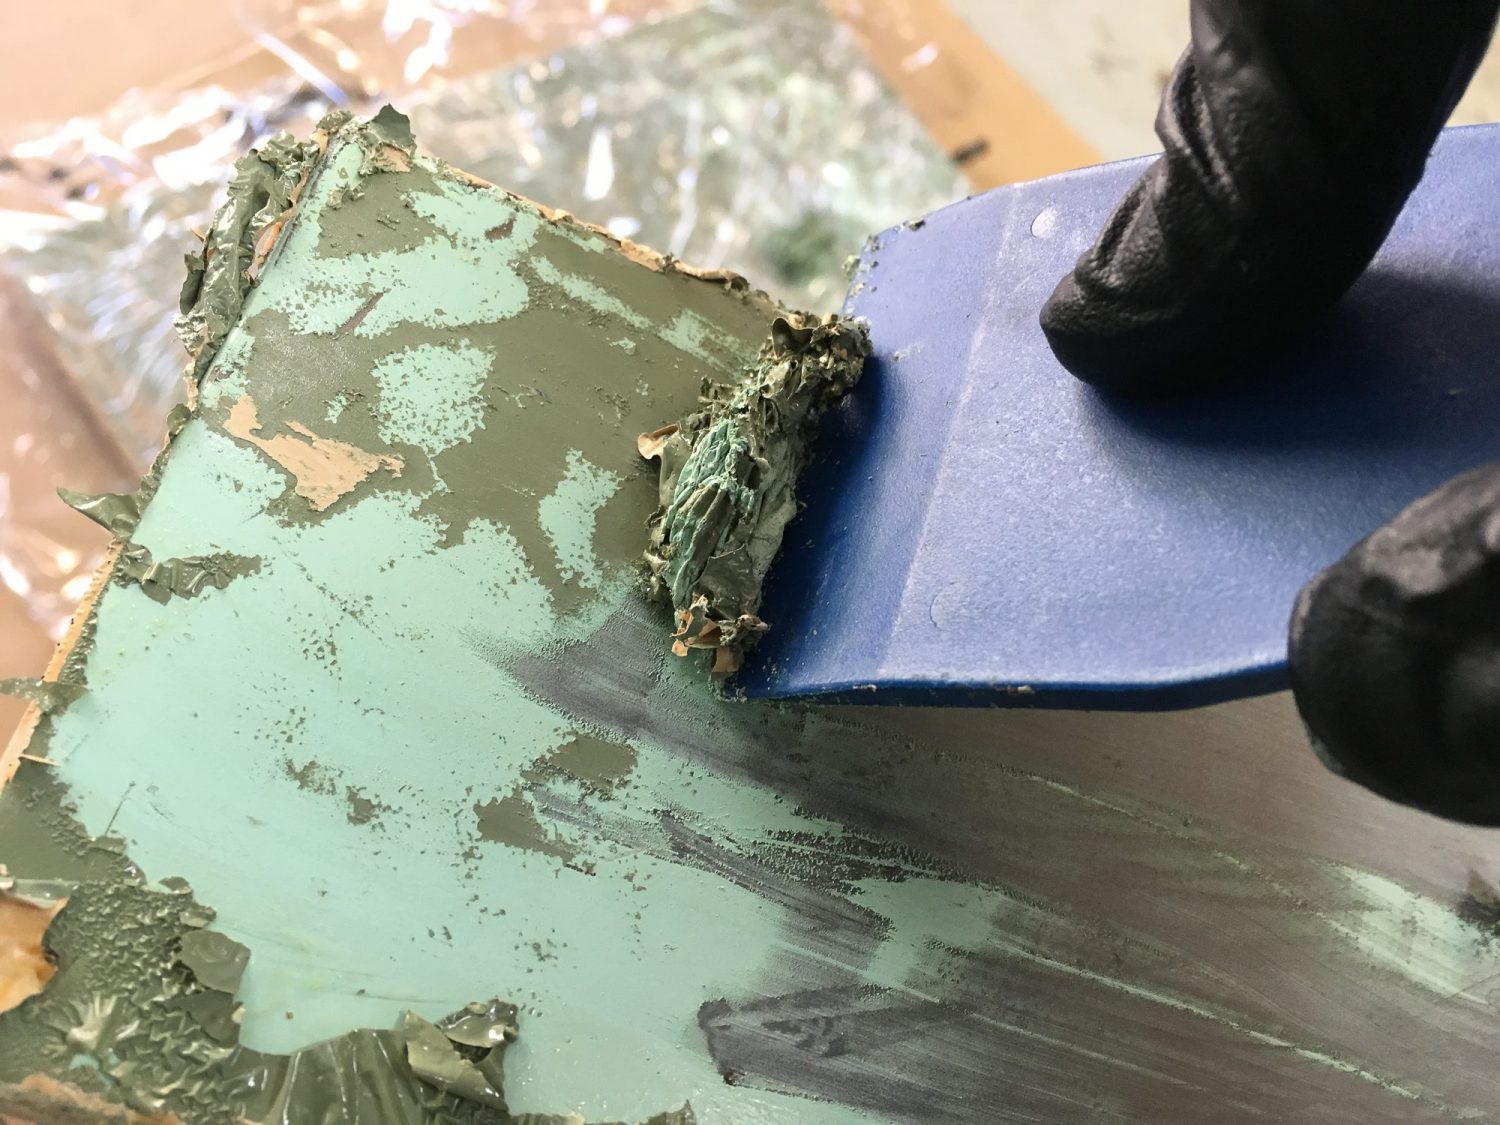
Start scraping! I used a plastic scraper. You can use a metal scraper, but you’ll likely scratch/gouge the surface. This set of plastic scrapers should work well.
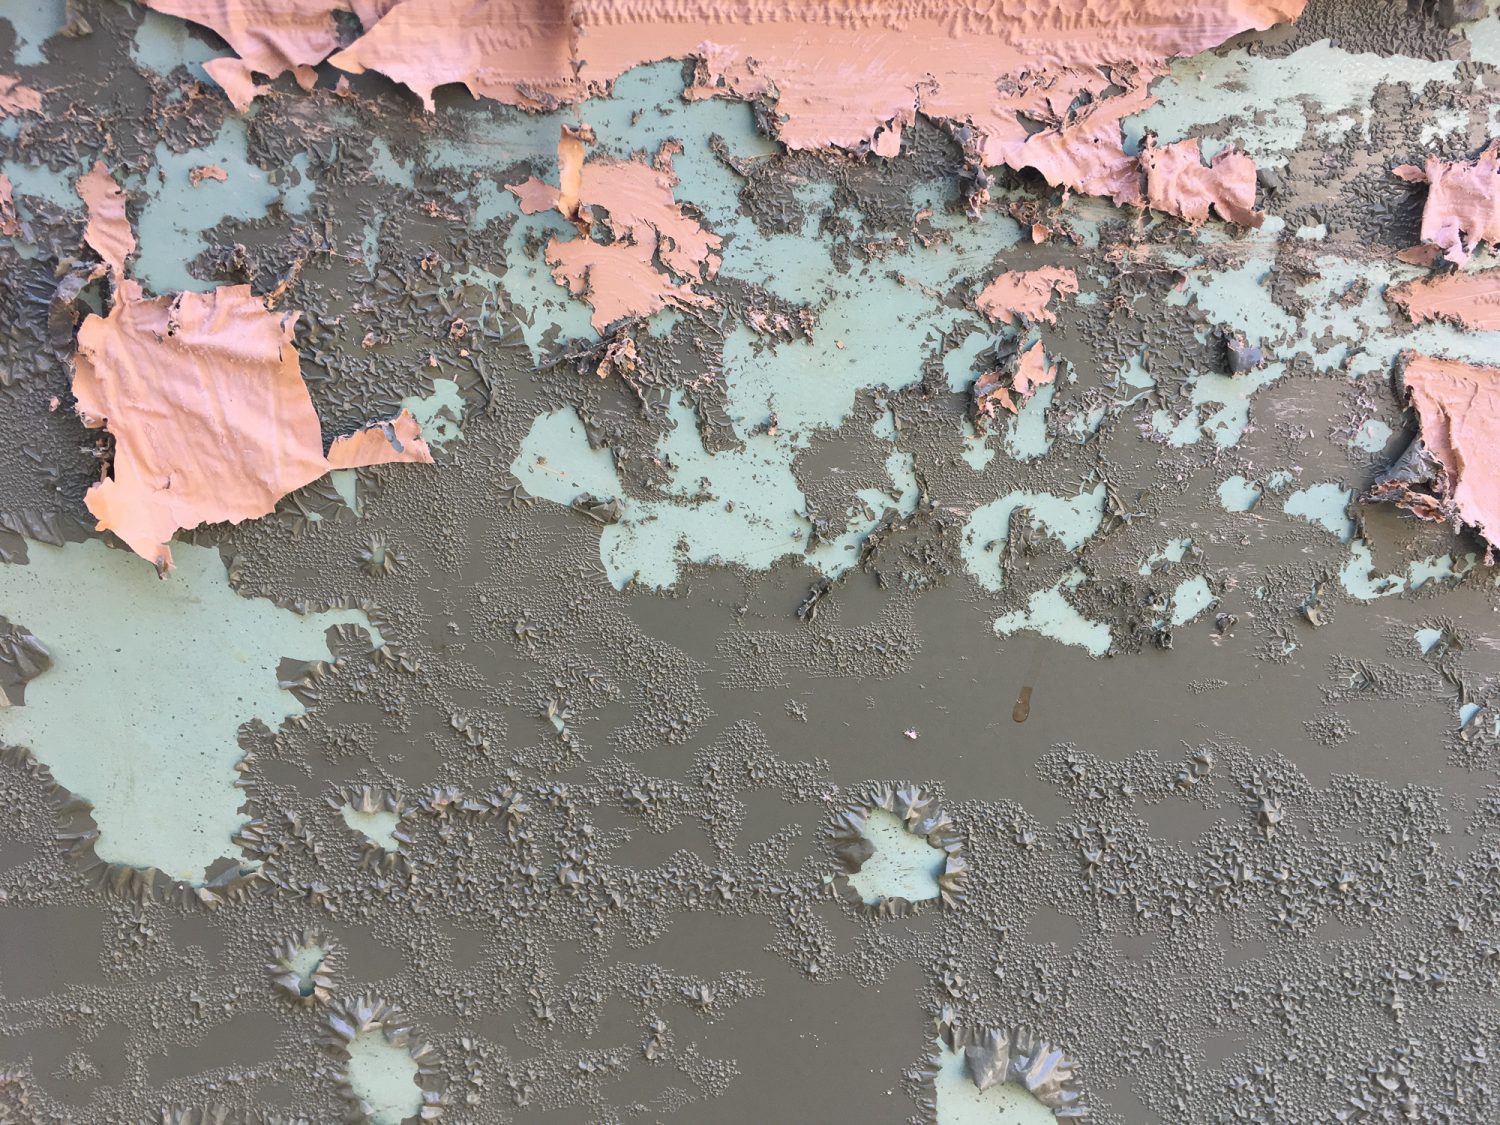
Some area may just peel right off depending on the paint type. Here you can see all three colors. 80’s beige, army green, and vintage turquoise. I actually really liked the original turquoise color. Had it never been painted, I might have kept it as-is.
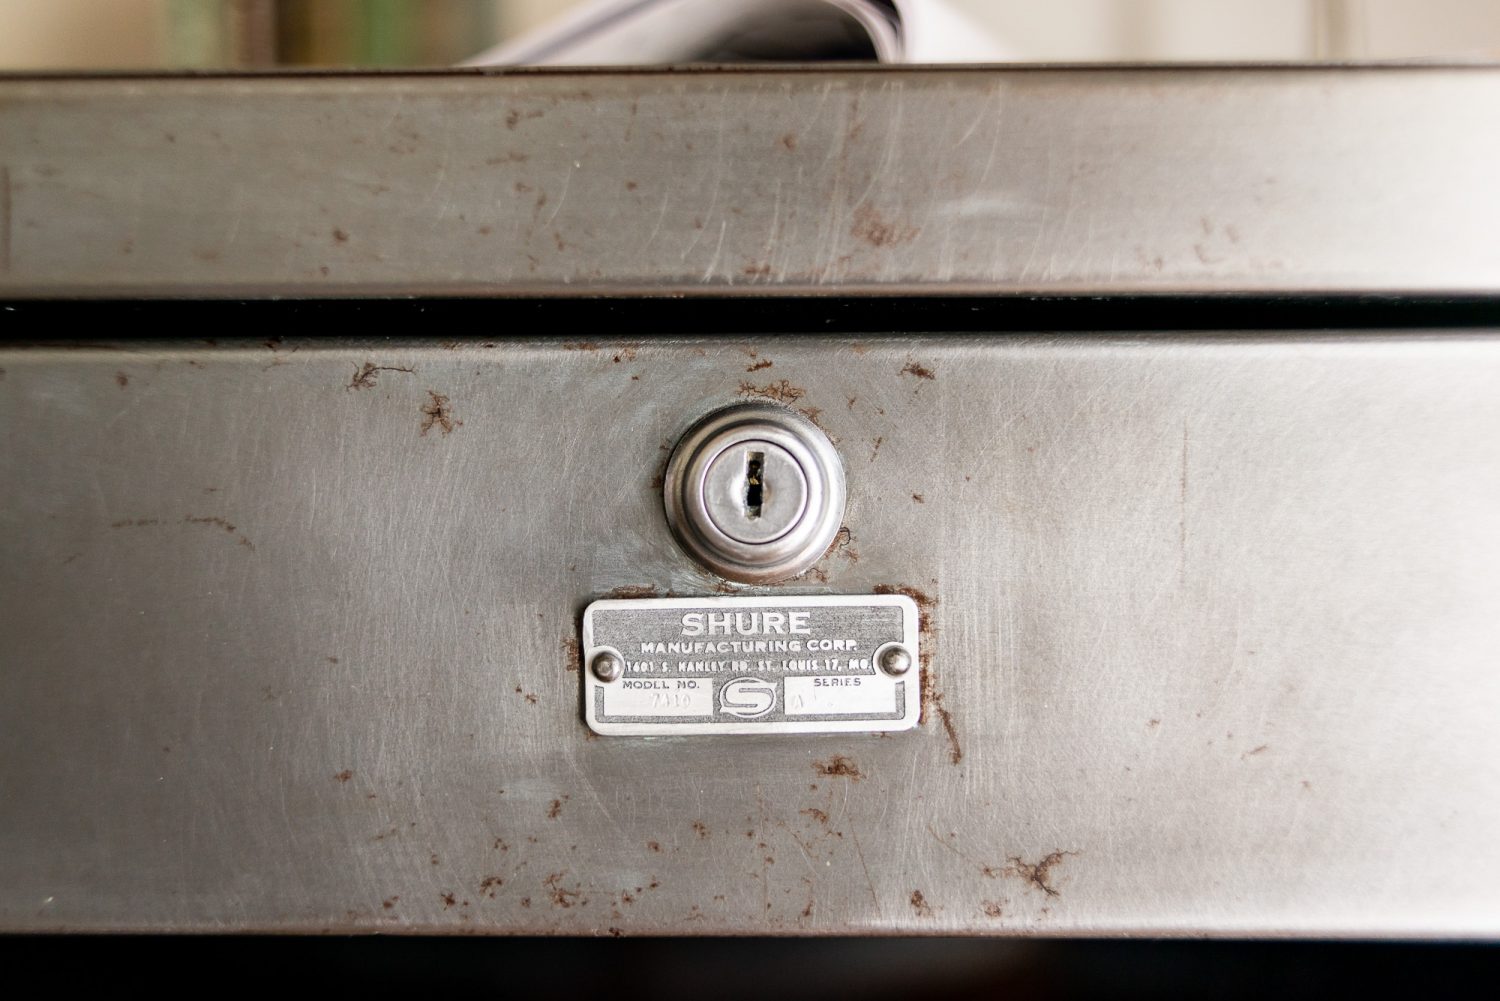
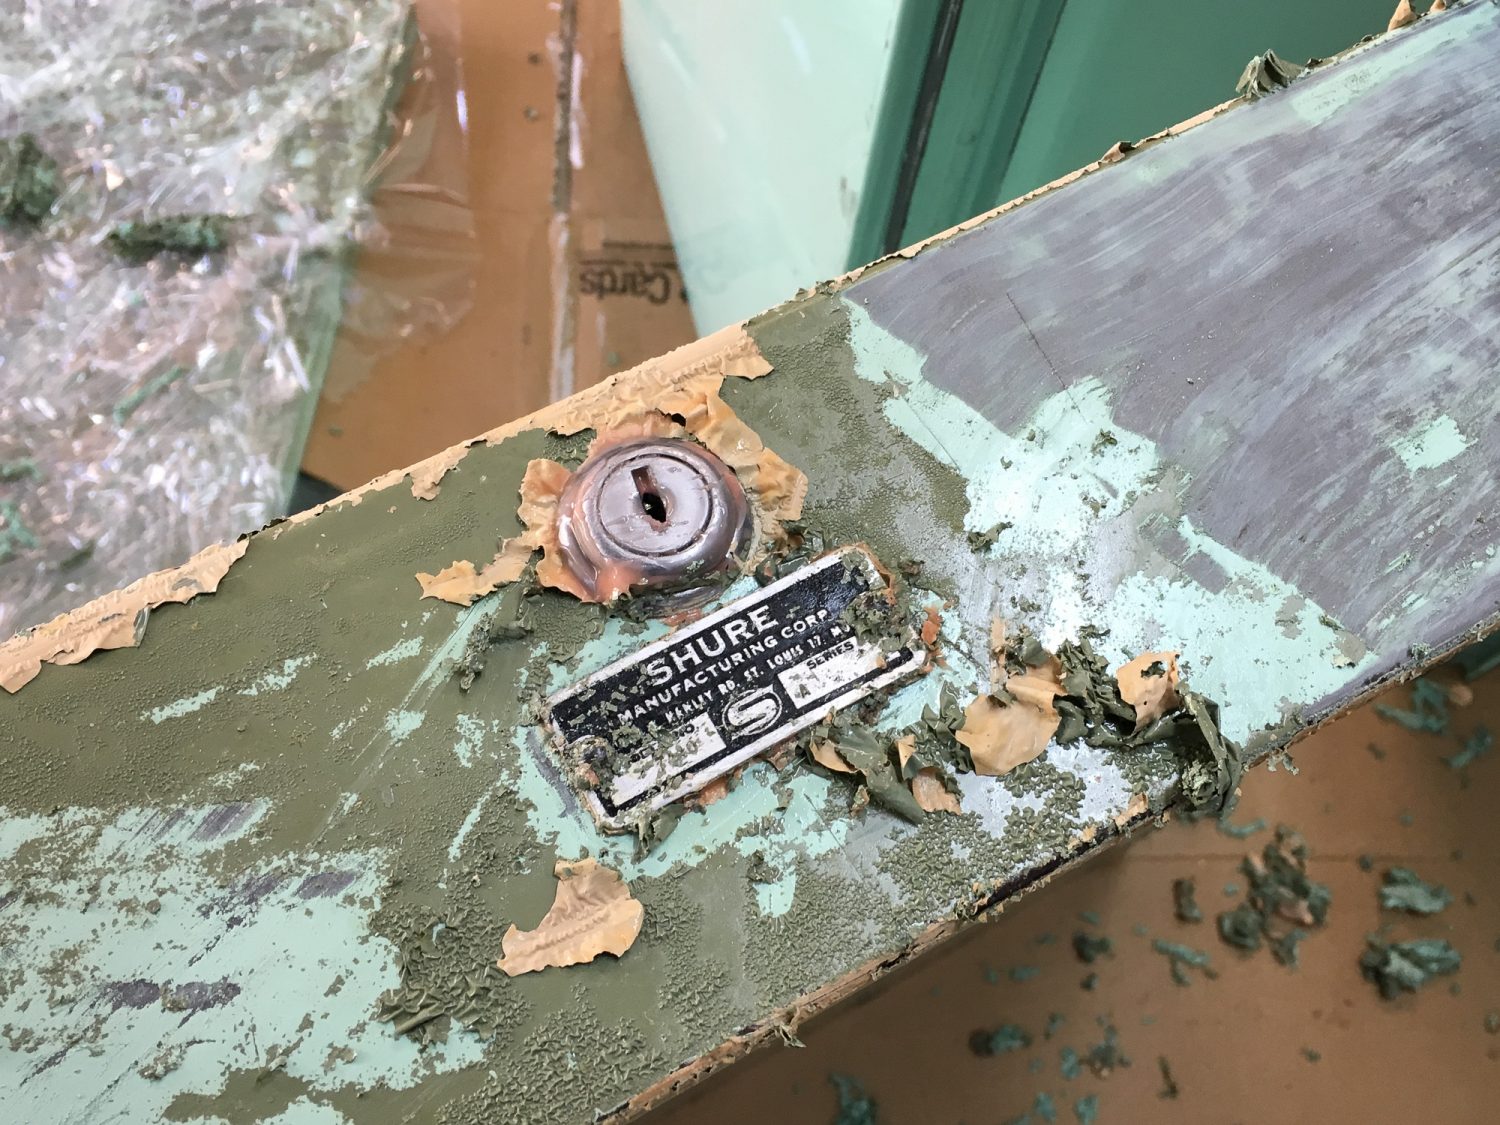
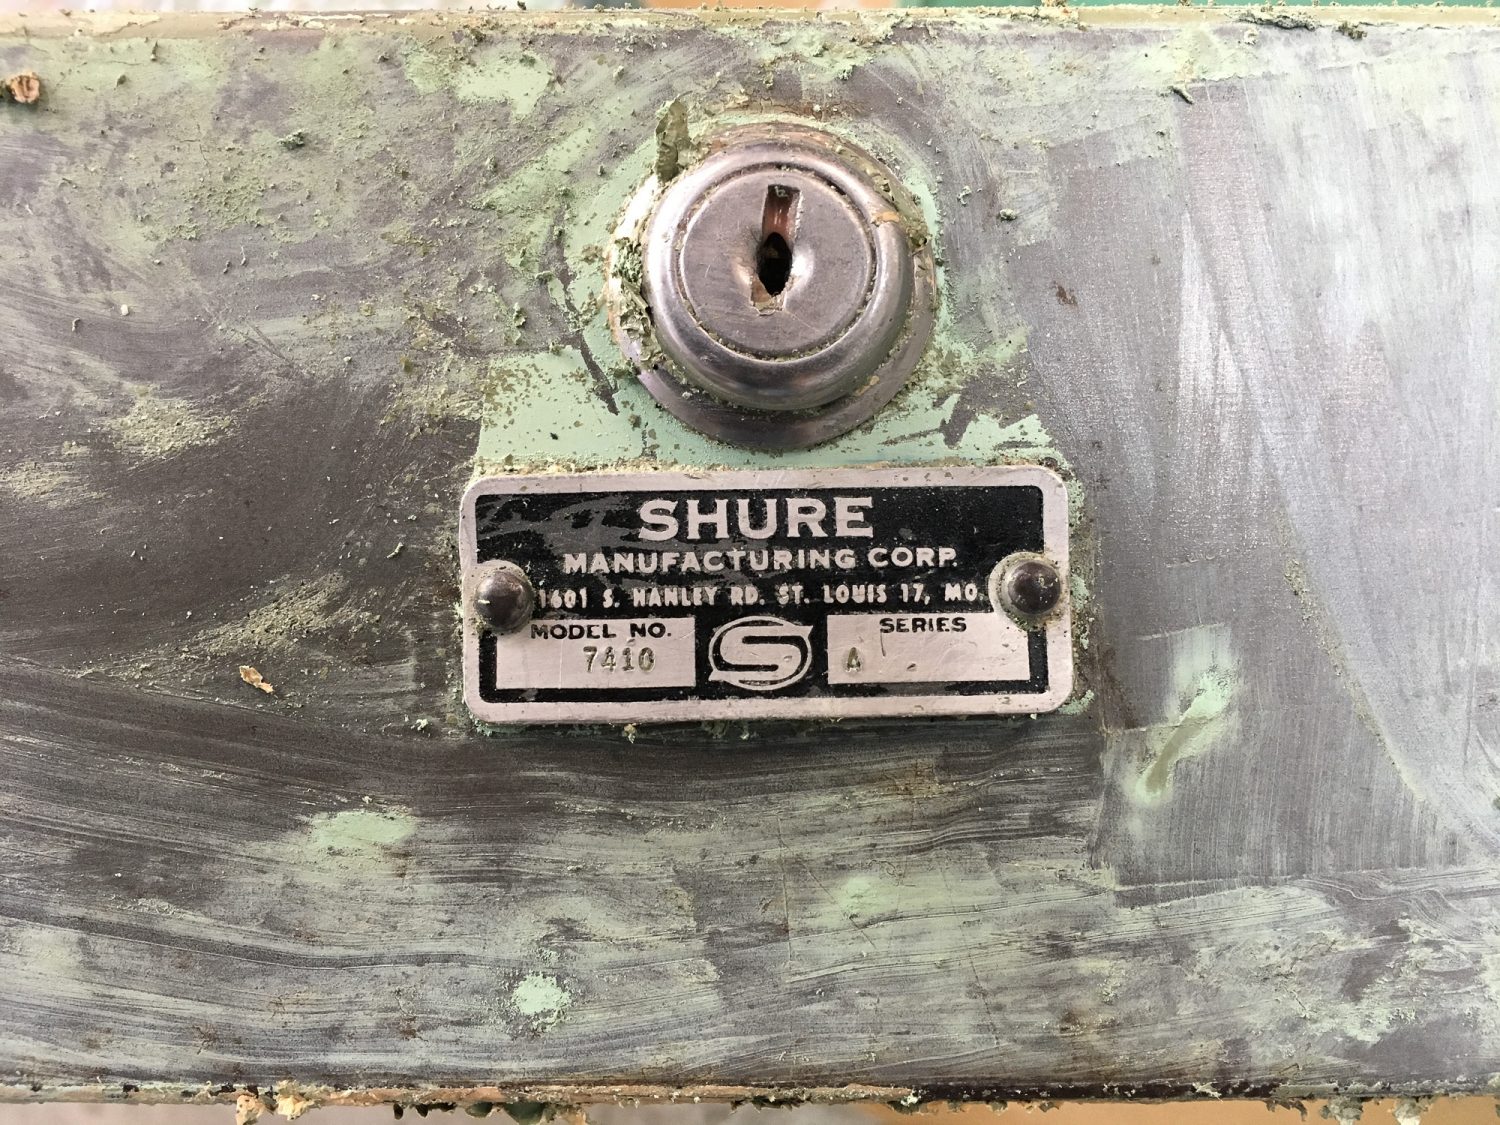
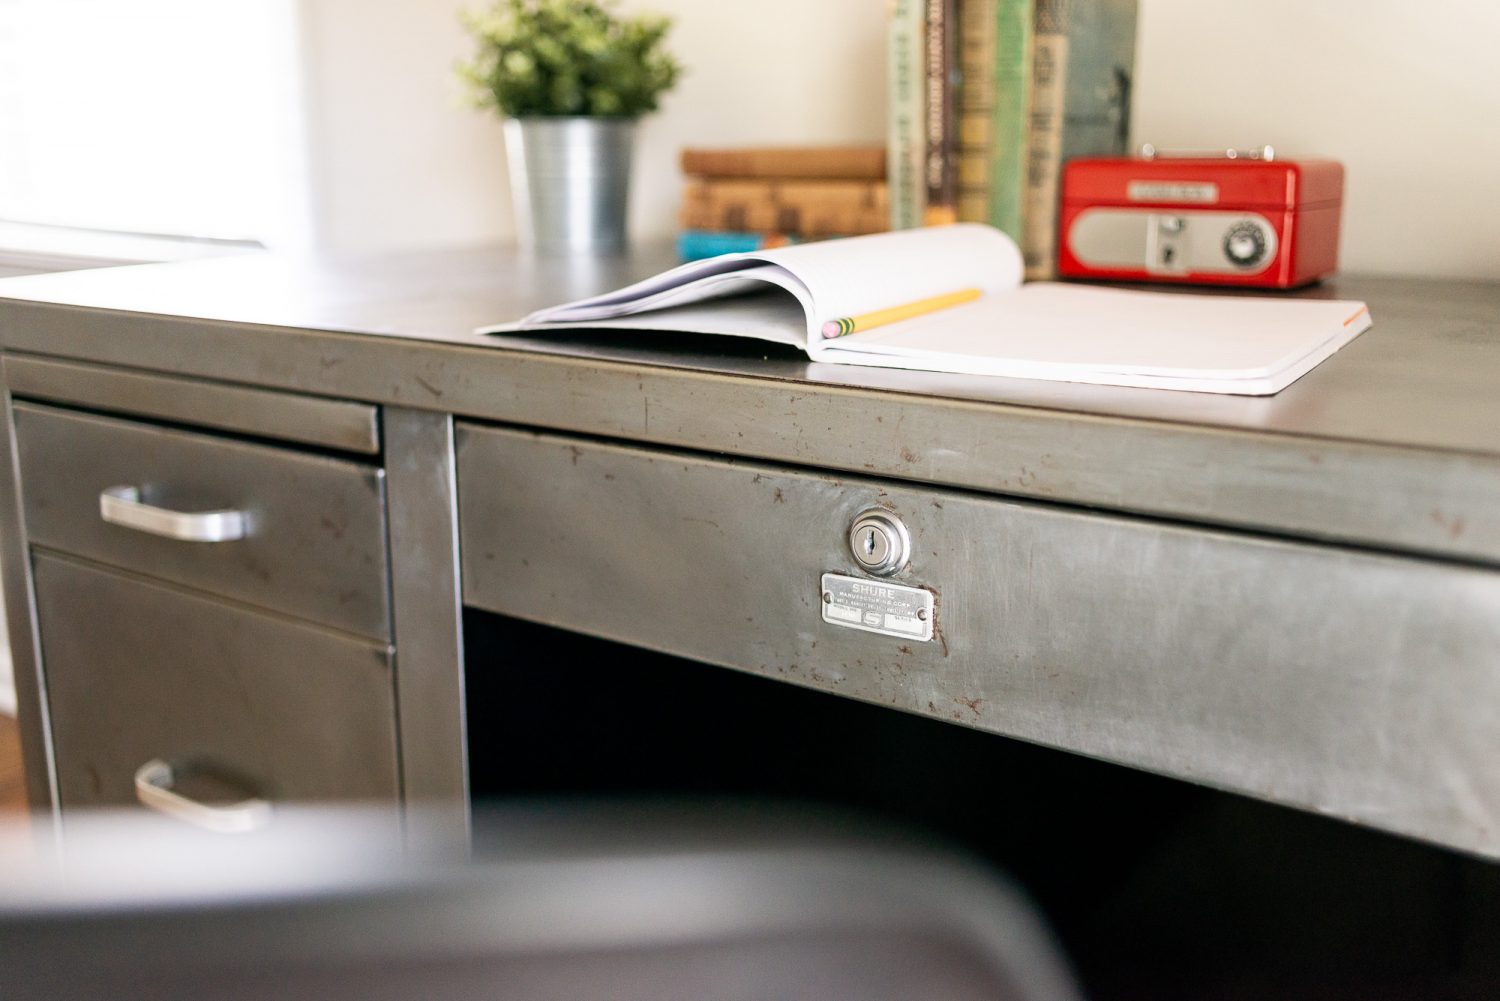
Love that the old tag was intact.
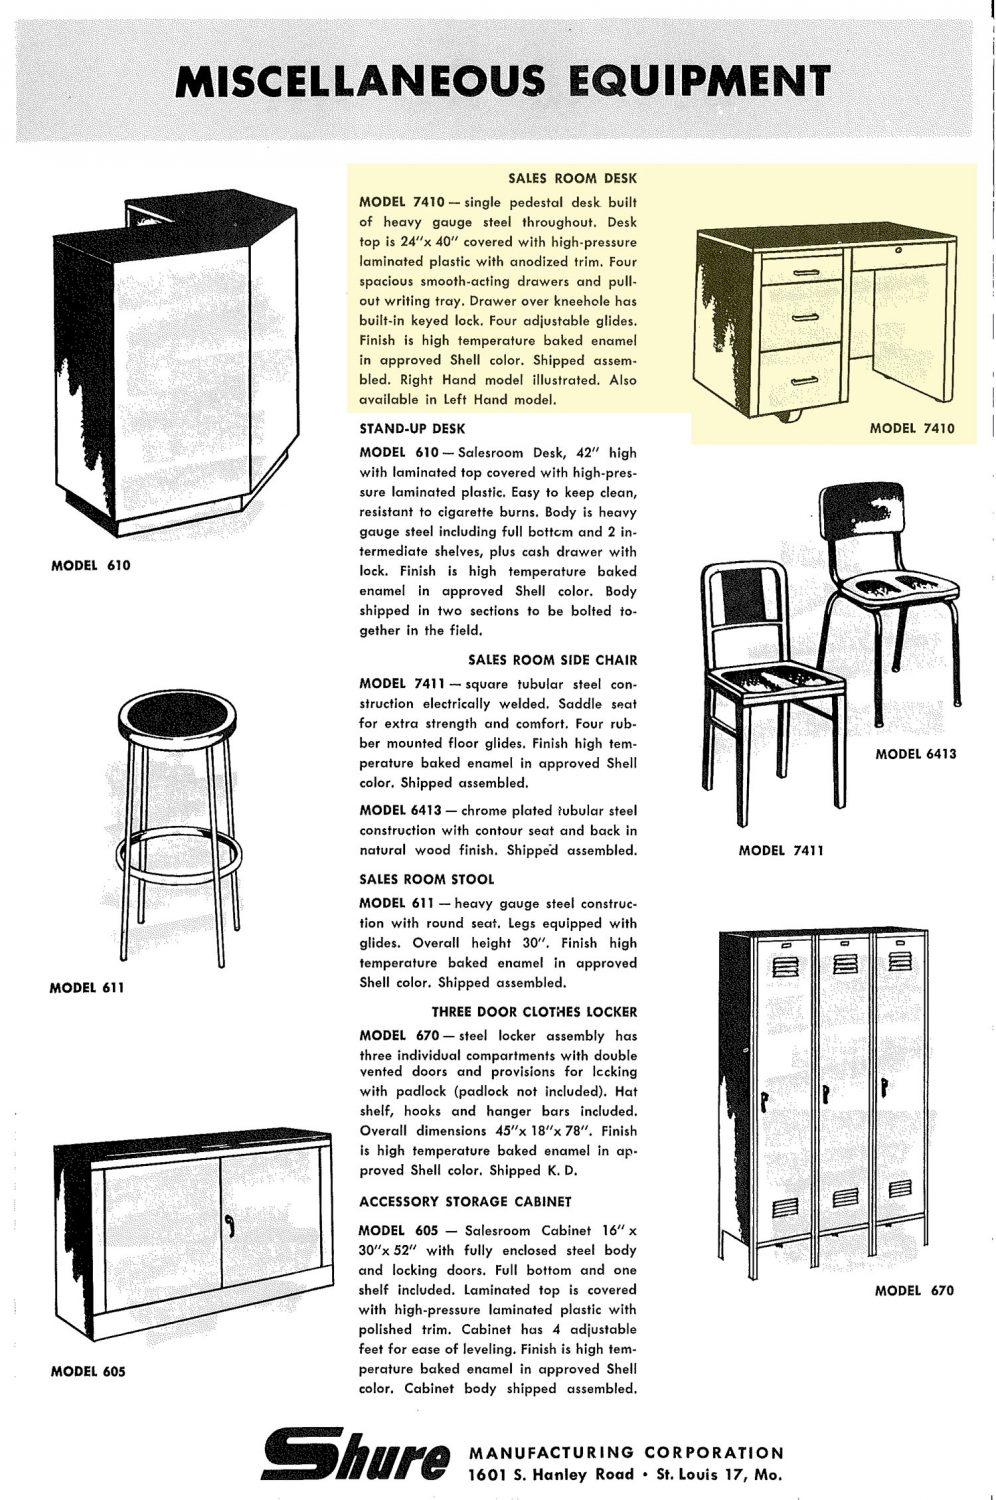
I did some googling and discovered that the manufacture, Shure is still in business making high quality products! I contacted them to see if they could provide any info on this model desk. They found some old sales brochures, scanned them and emailed it to me. Thanks, Shure Manufacturing Corporation! How cool is this? Looks like my desk was likely a service station sales desk in its former life. They weren’t able to give me a manufacturing date but said it’s likely late 50’s to mid to late 60’s.
More Citristrip!
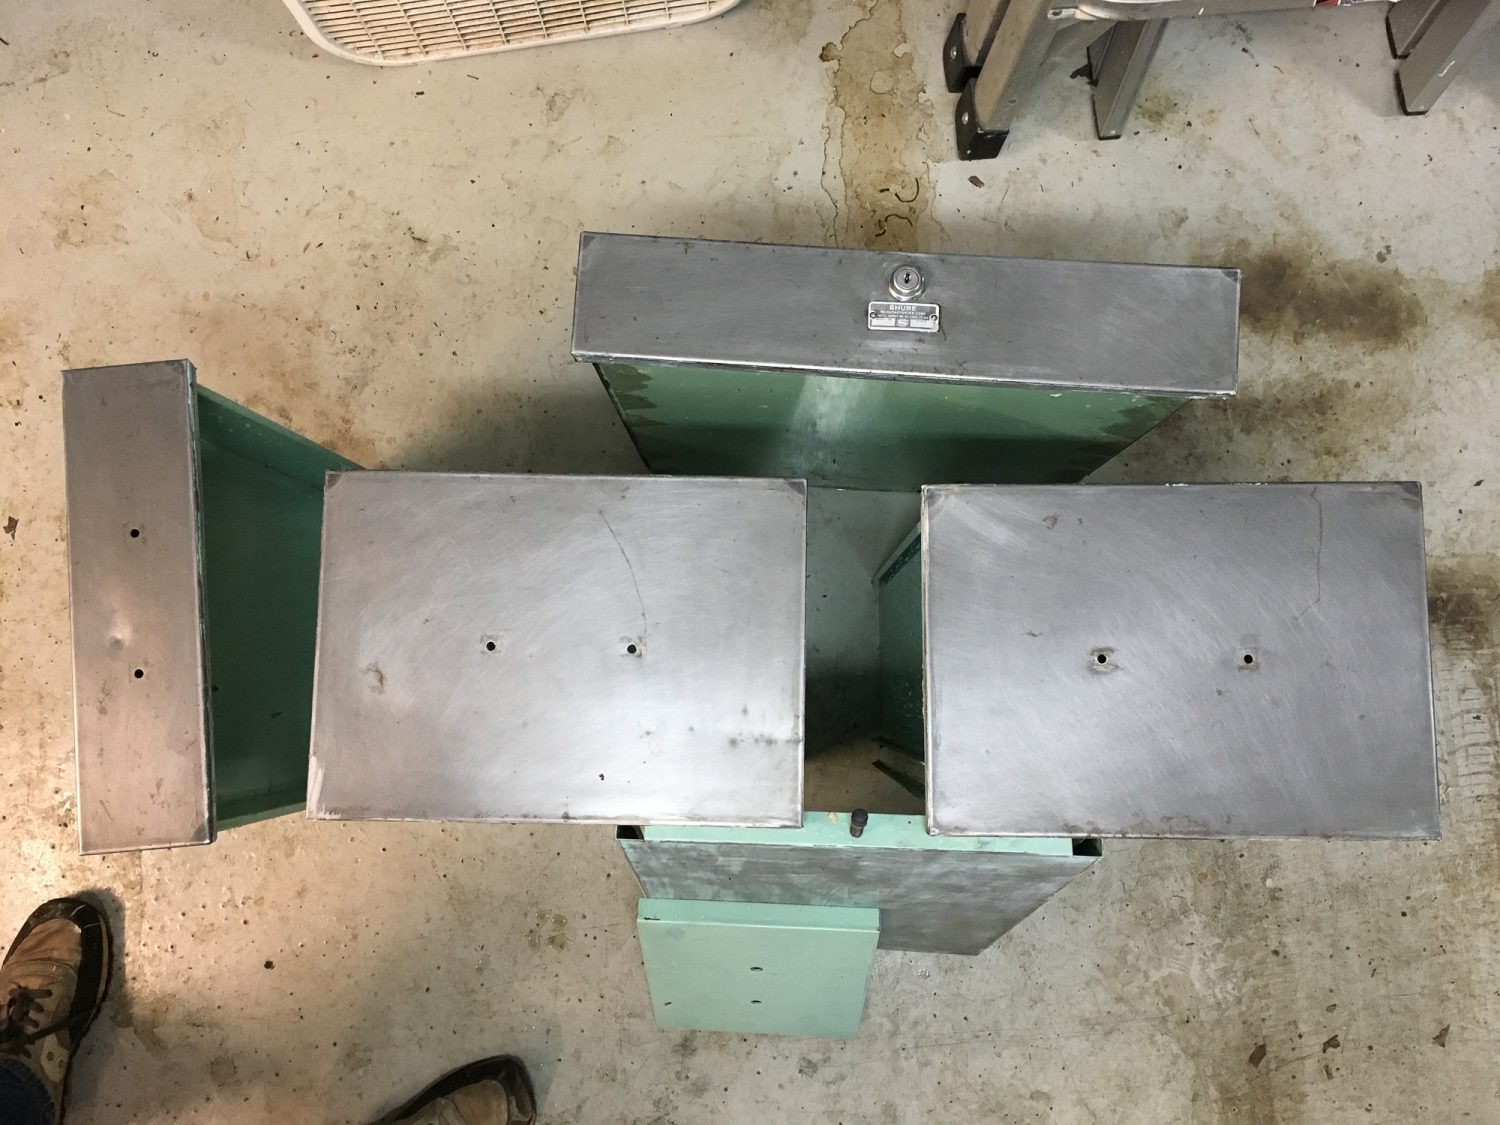
Even after all the stripping, I still had a few areas to deal with. I used a combination of a small orbital sander and a sanding block to remove the rest of the paint. I actually didn’t mind the look of the swirled micro-scratches from the sanding, so I decided to sand down the entire surface. The grit value of the sand paper only matters to the degree of smoothness or shine you’d like to achieve. The coarser the paper, the more prominent the scratches will be. It’s really personal preference. I used what I had on hand. I think it was 120 grit to start and 220 grit after. I also used a grey 3M pad on some areas.
This was prior to the final sanding.
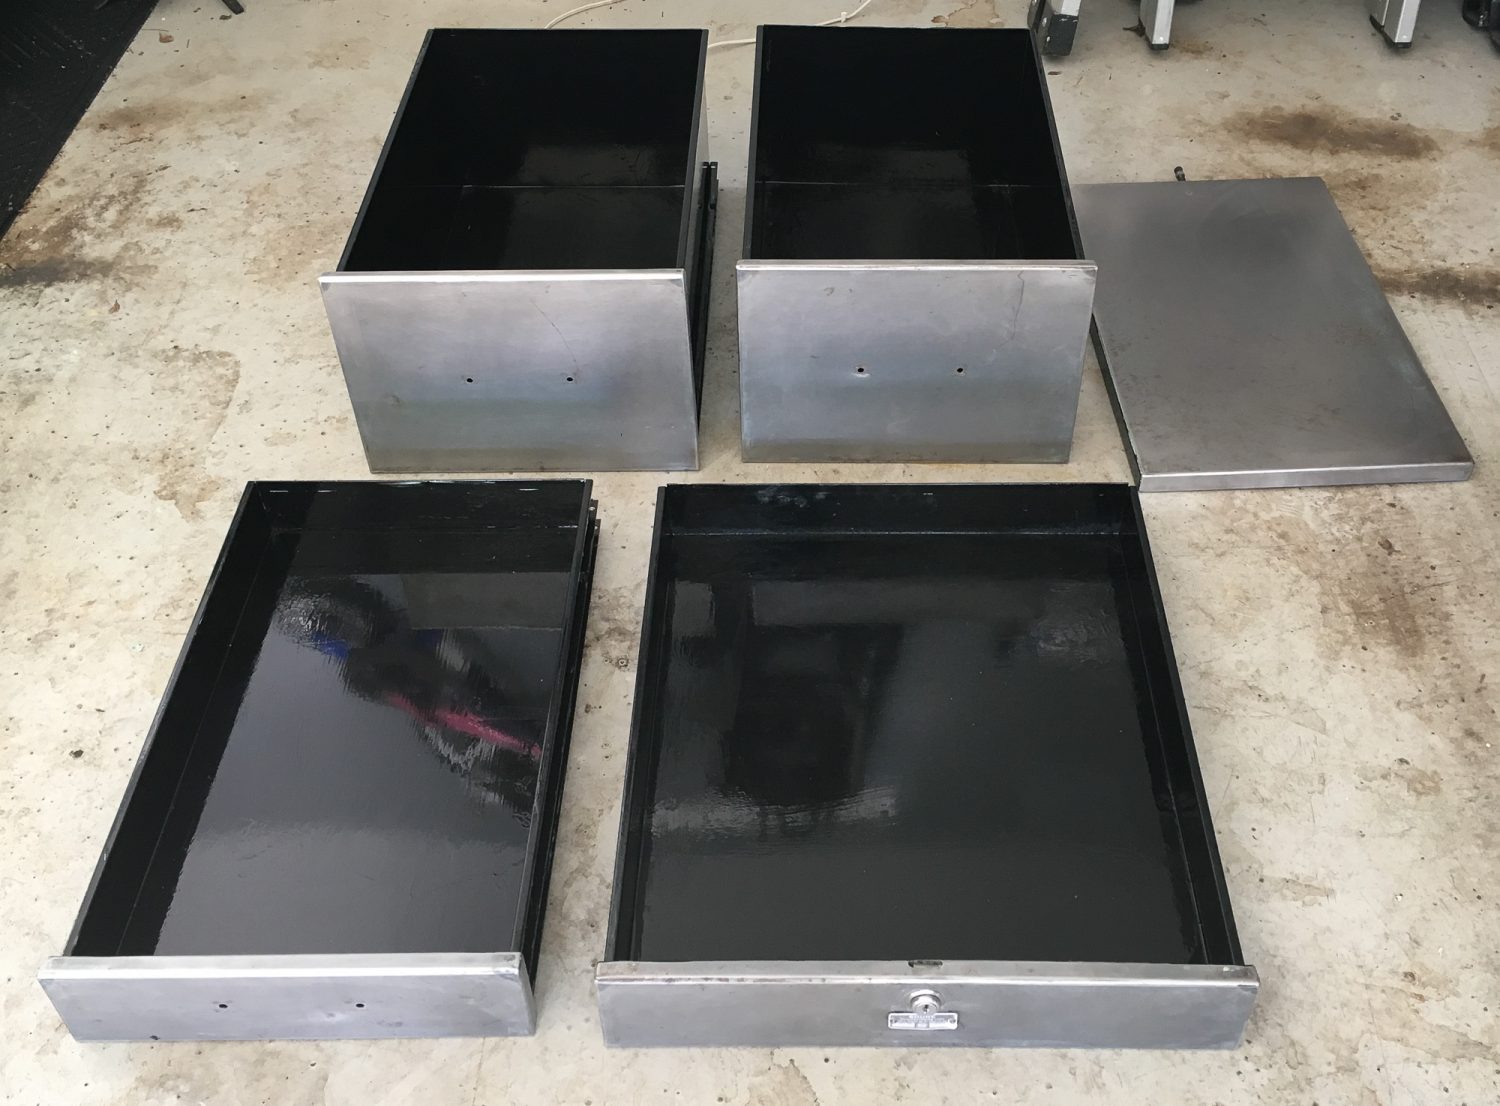
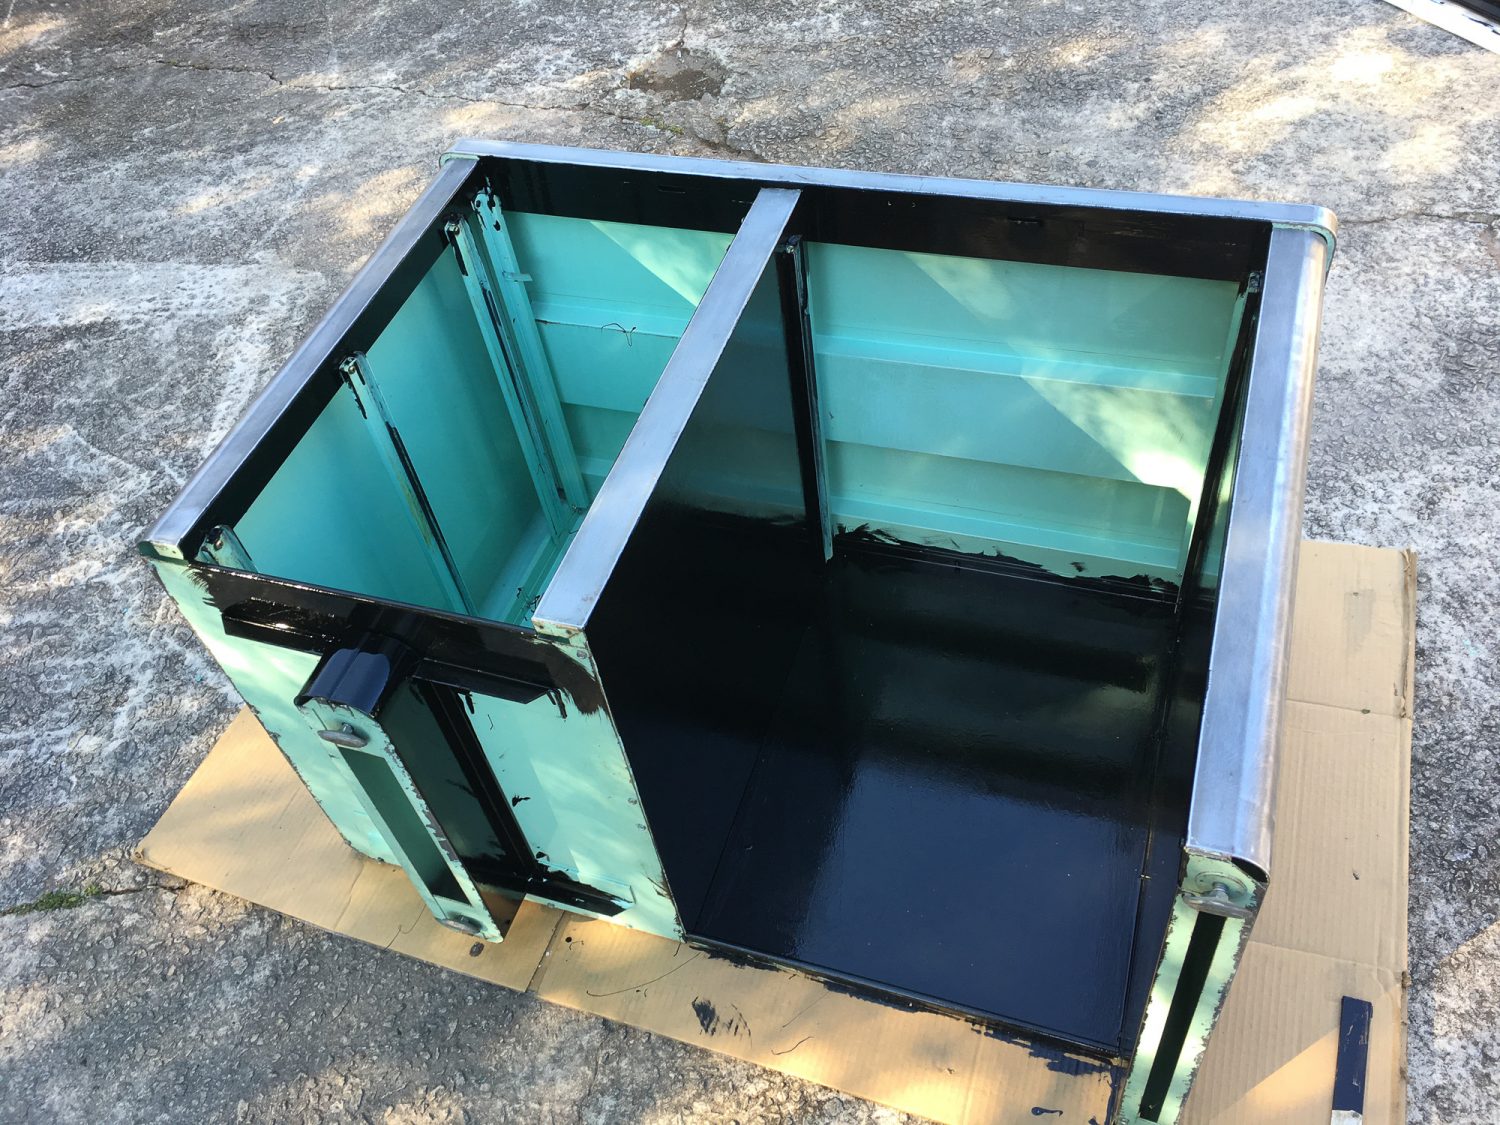
I decided not to go through the trouble of stripping the inside of the drawers and the interior chair area. Instead, I used a quality gloss black enamel applied with several cheap foam brushes. I did rough-up those areas with some sanding before painting. I also taped-off all those front-facing surfaces that I wanted to remain bare metal.
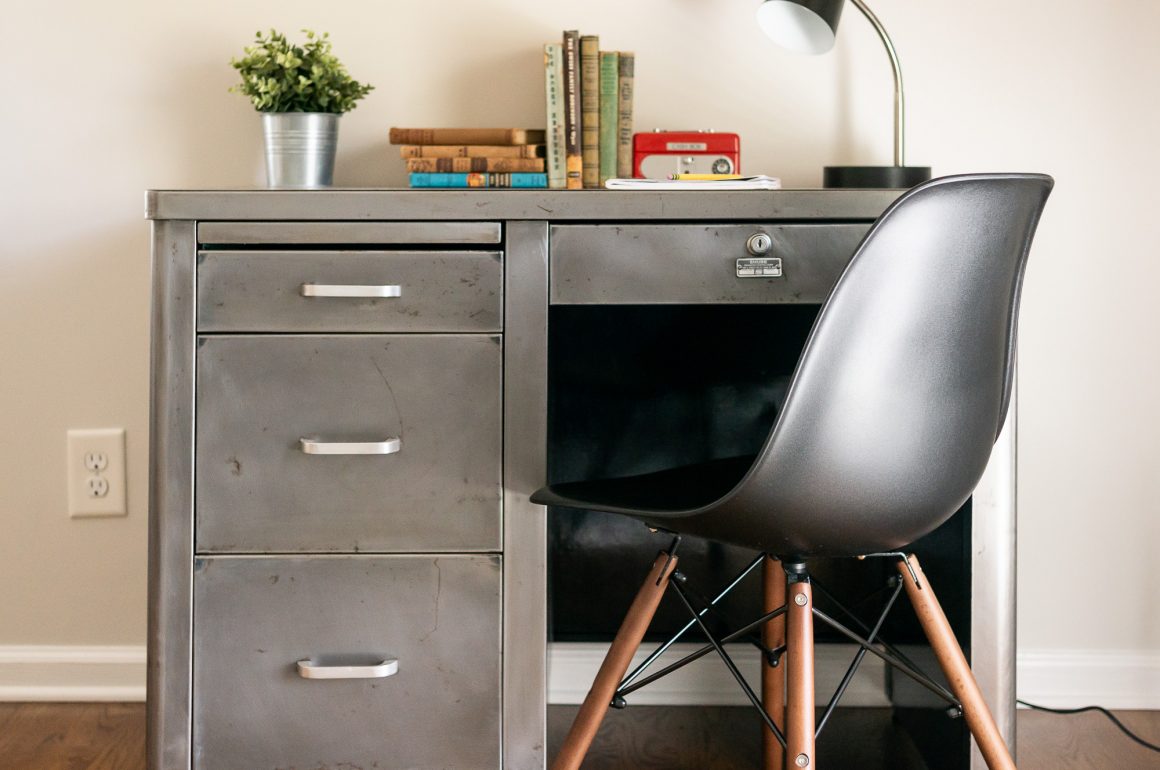
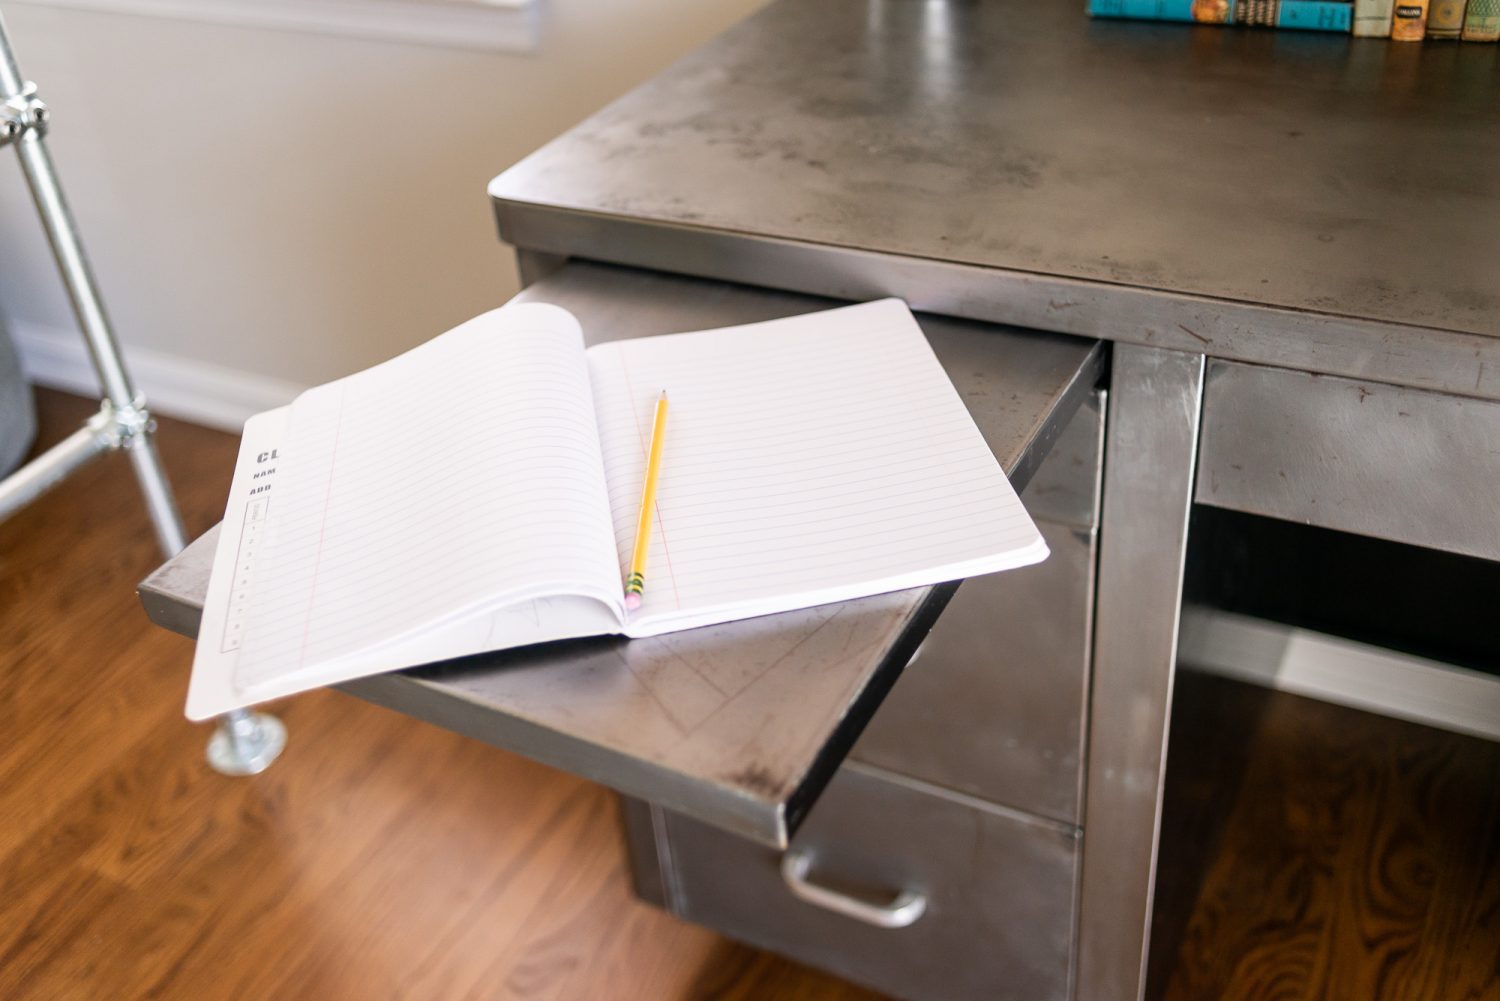
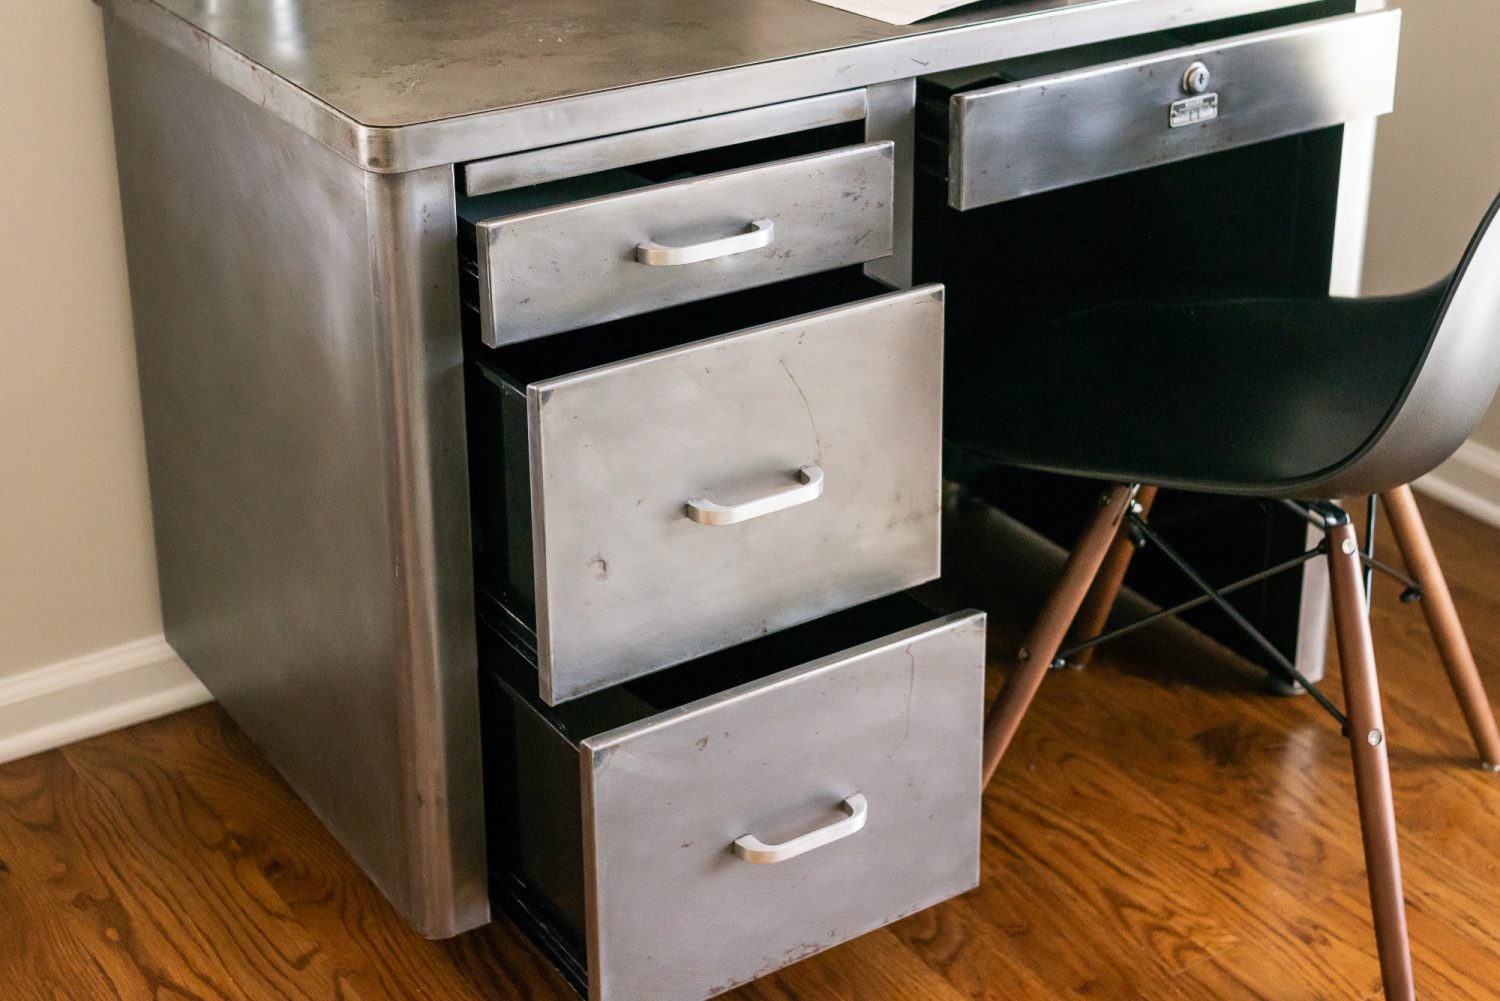
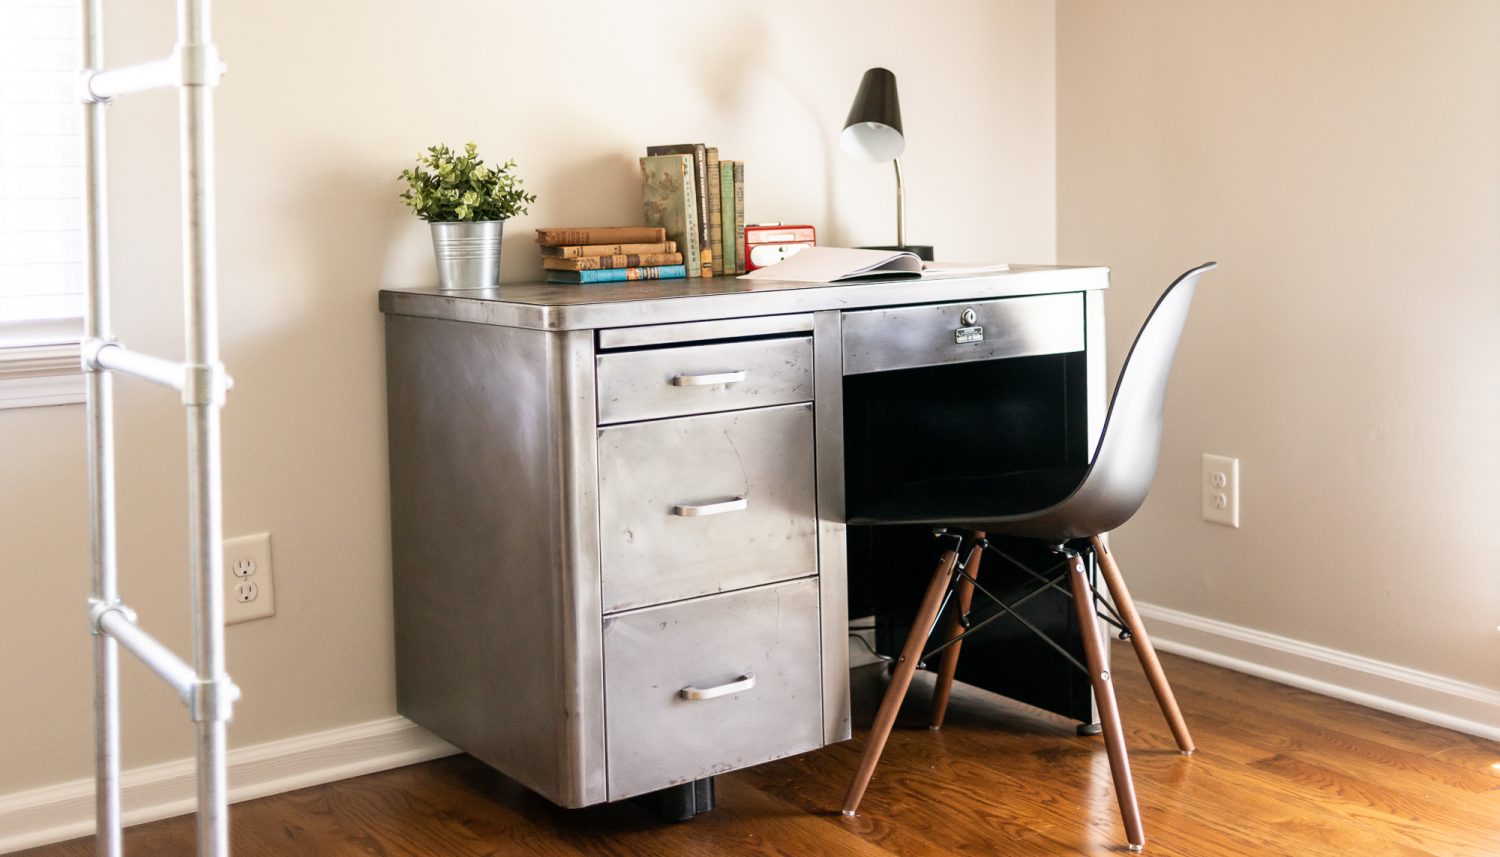
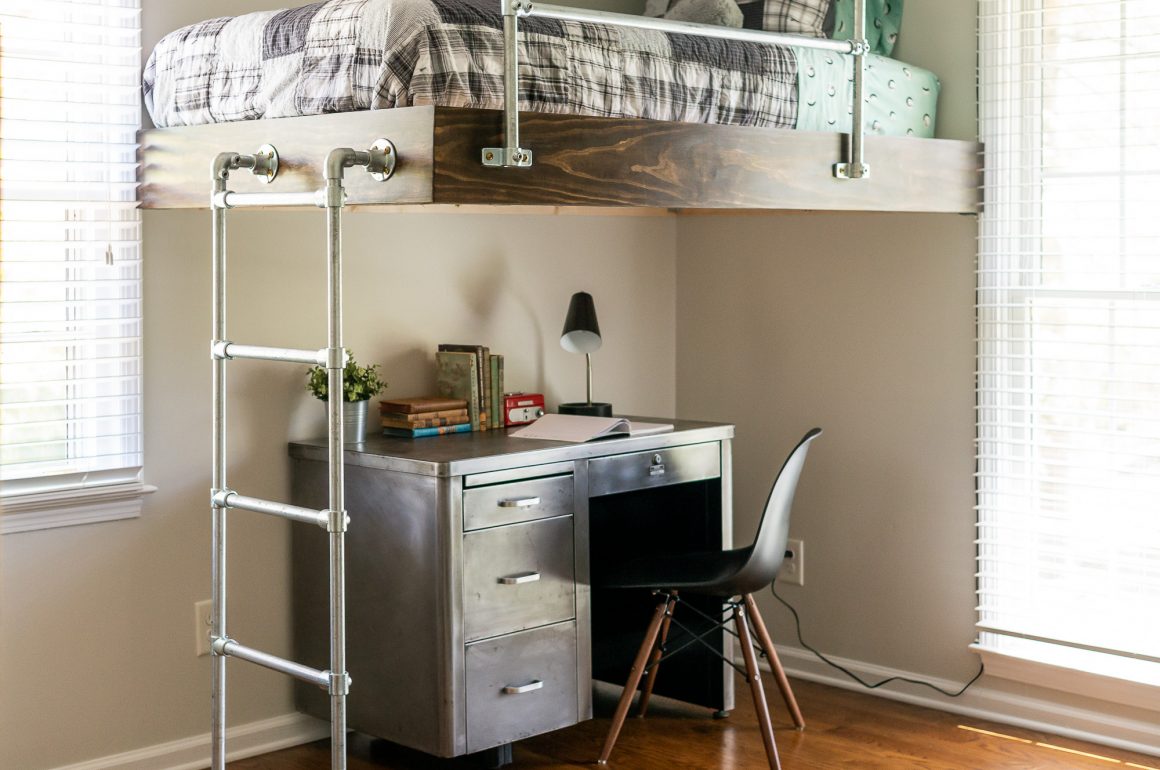
Lastly, I sprayed several light coats of clear satin. The results are incredible!
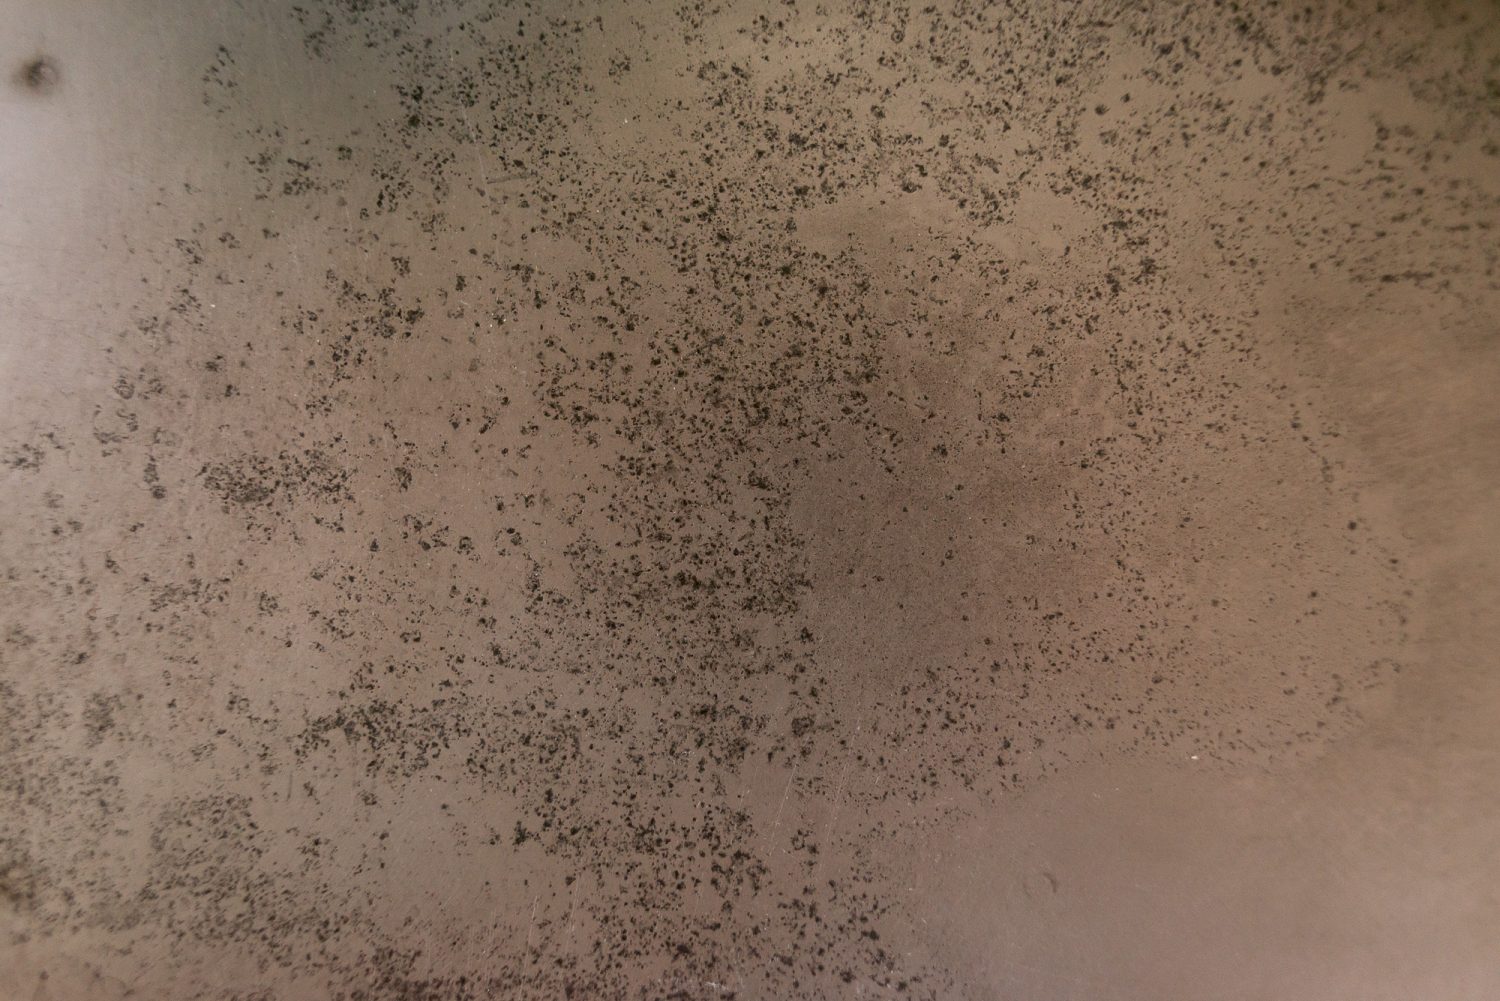
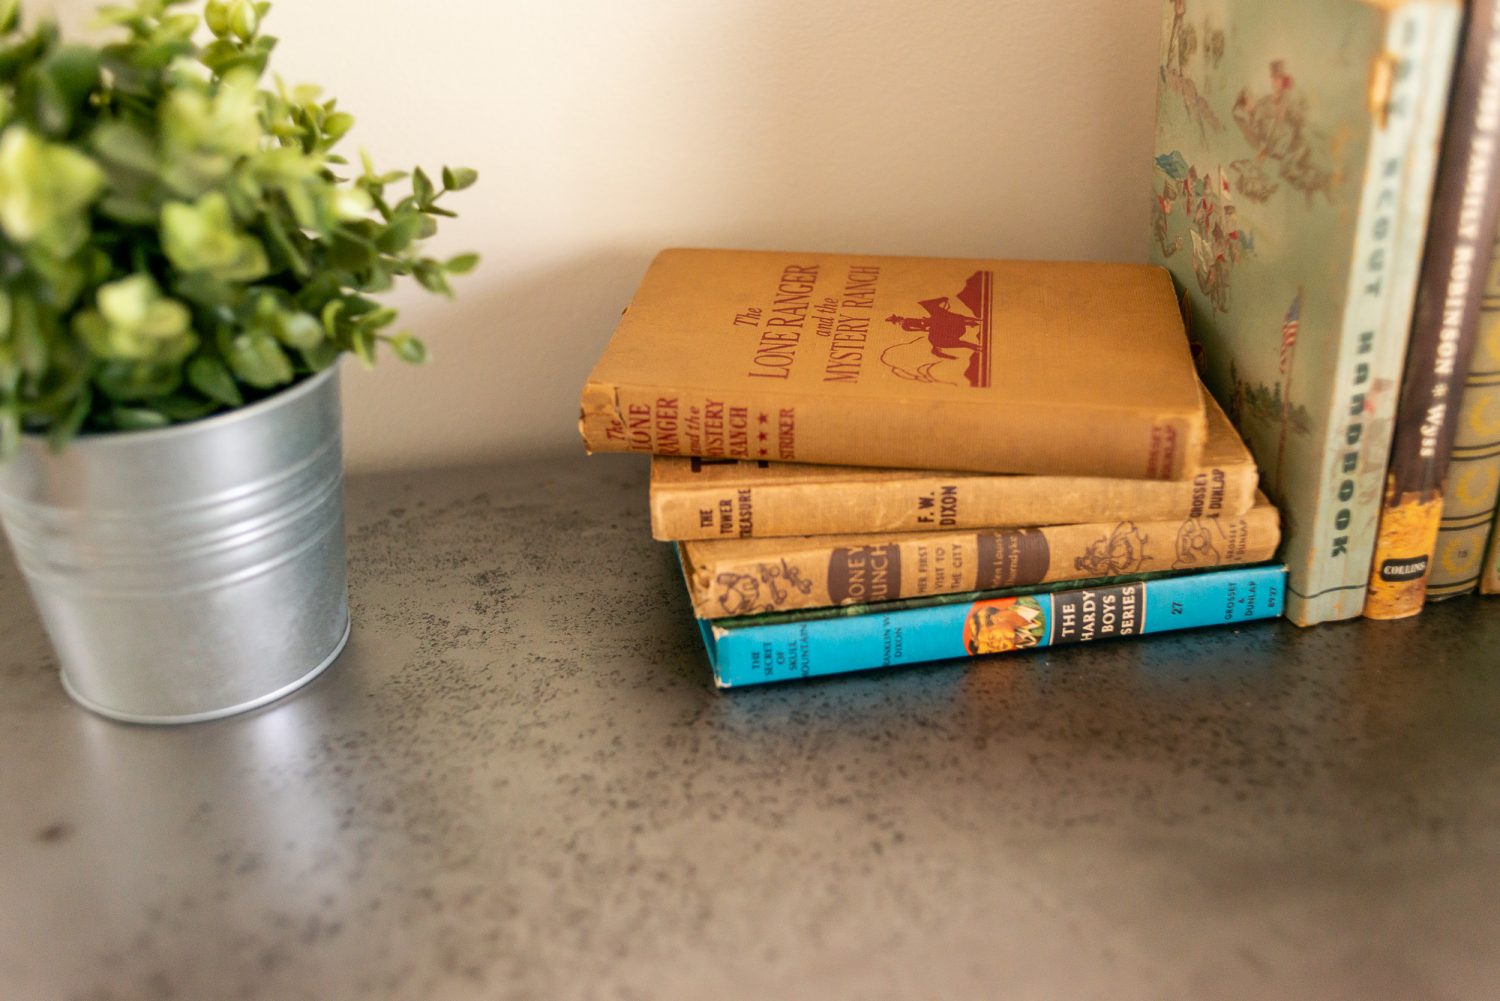
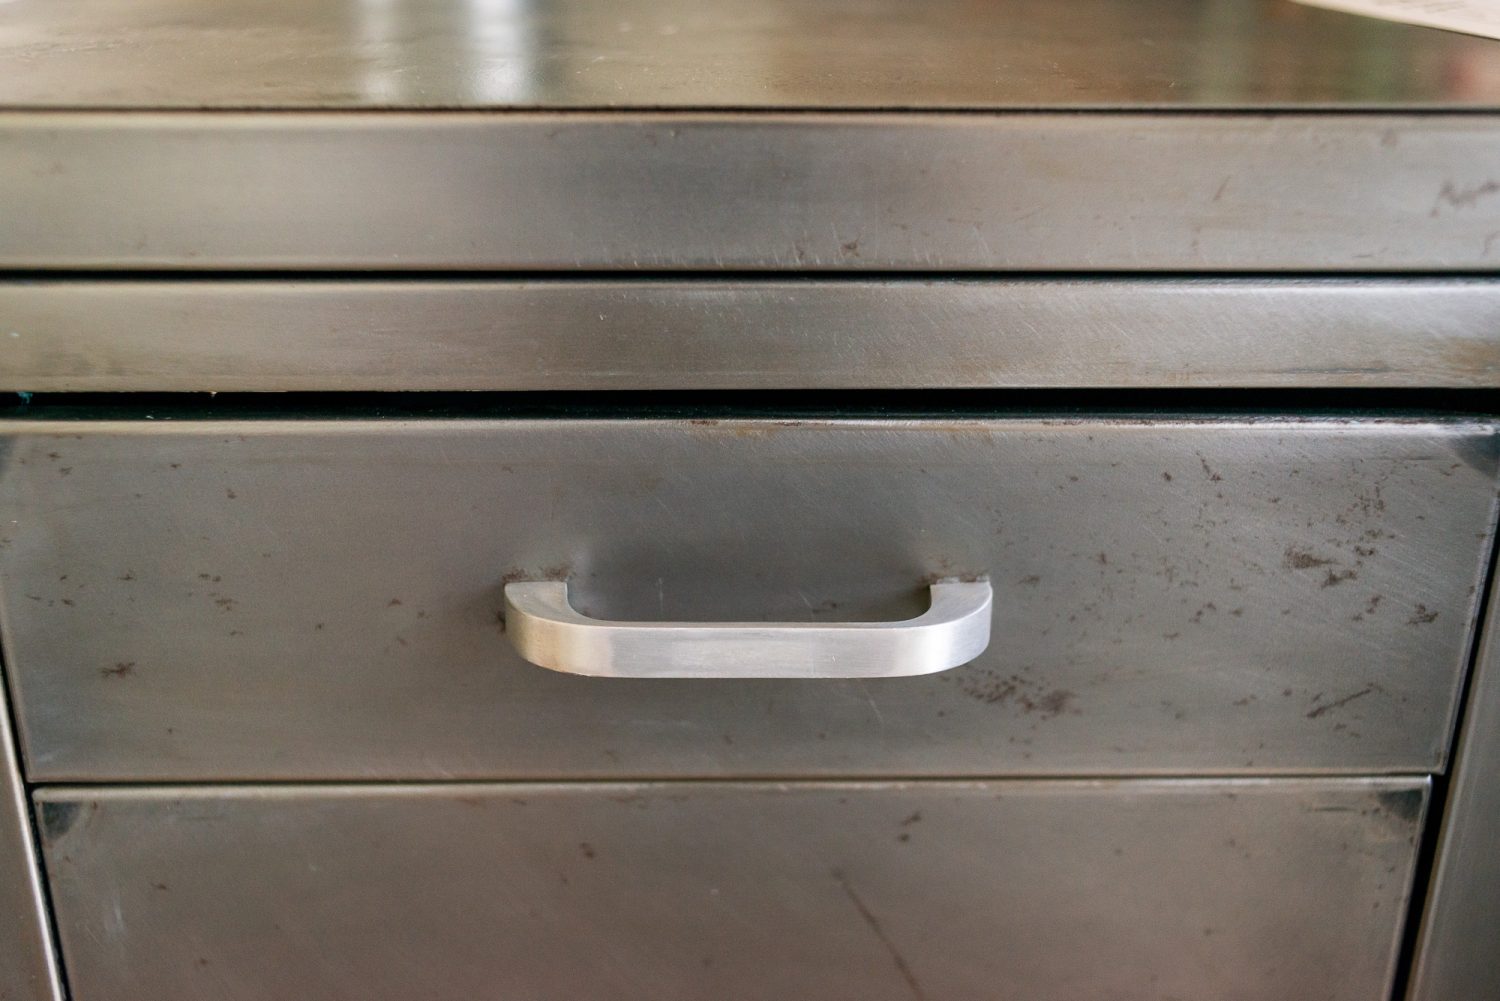
Close-up of the top. I love how the decades of rust and old adhesive left this patina.
*This post contains ads and/or affiliate links. I may be compensated by advertisers. Read more here.








Really awesome desk. I’m actually working on sanding a desk that’s very similar. Love how yours turned out so you’ve inspired me to shorten my project. Did u use a clear coat at the end?
Thanks! Great to hear you gained some inspiration from my project! Yes, I did do a clear coat. So far it’s holding up great.
I finished the desk. I sanded it all the way from 60 grit to 3000 and it’s quite possibly the shiniest desk I’ve ever seen. Again, thanks so much for posting your project. You’re truly an inspiration.
So good to hear!
Did you find it started to rust over time, underneath the clearcoat? Did you wipe it with anything before applying the clear?
It’s gorgeous!
Hey Lauren, sorry for my late reply. Thanks for stopping by! I didn’t treat it with anything before applying the clear. So far, I haven’t noticed any rust. I think the clear coat is working well!
Great Project! I have a huge steelcase desk and would like to refinish it. Could you tell me how to separate the top from the file cabinets?
Thanks
Bob
I believe mine may be spot welded to the base cabinets. I’ll have to take a closer look. If that is the case with yours then you’d need to drill out those spot welds (there’s a tool for that) to remove.
Instead of clear coat could you paint over the steel again? Or would it be easier to add another layer of paint without stripping?
You could definitely repaint the bare steel. I’d suggest a bare metal primer first and then paint. And yes, you could also paint over the existing paint. That decision will be based on the condition of the paint however. If it’s in decent shape then a light sanding a repaint may be just fine. If it’s not then stripping it down may be best.